Mary Berry’s classic treats are a beloved part of British afternoon tea and often sit alongside the famous victoria sponge in popularity. These small sponge morsels bring simple baking into the home, pleasing both children and adults.
The recipe relies on a light mixture of high-quality butter and sugar to create an airy texture. A gentle fold and careful baking give the cupcakes a tender crumb that needs only a touch of icing.
Many home bakers enjoy turning them into butterfly cakes by using sponge wings cut from the cake itself. Their delicate nature makes them ideal for parties and offers a nostalgic taste of childhood with every bite.
Key Takeaways
- These recipes are a staple of British afternoon tea and easy for beginners.
- High-quality butter and sugar make the sponge light and fluffy.
- A simple icing or butterfly decoration transforms the cakes for parties.
- The method mirrors the straightforward charm of a victoria sponge.
- Following the steps gives reliable, nostalgic results each time.
Why Everyone Loves Mary Berry Fairy Cakes
Small, simple and cheerful, these treats fit perfectly into busy family life and party trays alike.
Designed as a kids’ classic, the recipe makes baking approachable for toddlers and older children. Little helpers can measure, mix and decorate with basic icing and sprinkles, so family time in the kitchen feels fun rather than fraught.
These small sponges are perfectly portioned for tiny hands and for parties. Their popularity comes from the ease of the method and the instant joy they bring when iced or dressed up. Families often pick these recipes when they want a fuss-free bake that still looks bright and cheerful.
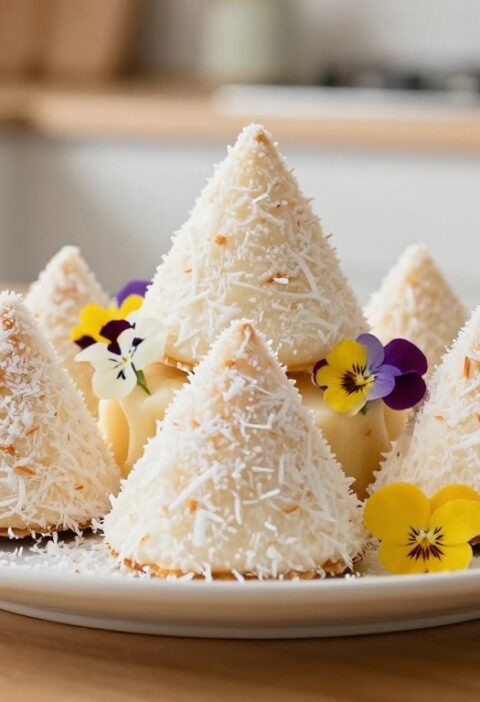
The real joy is versatility: swap colours, use seasonal toppers or try simple butterfly shapes for variety. If you want a nearby variation, try a coconut version with this easy coconut cake recipe.
- Quick to prepare — ready in under an hour.
- Accessible ingredients and simple decorating.
- Perfect for teaching children basic baking skills.
Essential Equipment and Ingredients for Your Bake
Gathering the right tools and storecupboard staples makes the bake quicker and more reliable.
Essential Baking Tools
Use a 12-hole bun tin to keep each sponge uniform. A standard muffin tin works well too.
Have a reliable mixing bowl, measuring spoons and a whisk to hand. These make the all-in-one method simple and tidy.

Pantry Staples
Start with: 100g softened butter, 100g caster sugar, 2 large eggs, 100g self-raising flour and 1 level tsp baking powder.
Choose good-quality butter and caster sugar for better flavour. Measure the tsp of baking powder accurately—this is the secret to light, fluffy fairy cakes.
| Item | Quantity | Note |
|---|---|---|
| Softened butter | 100g | Room temperature for creaming in the mix |
| Caster sugar | 100g | Fine texture helps even mixing |
| Self-raising flour | 100g | Combine with 1 level tsp baking powder |
| Fairy cake cases | 12 | Use good-quality case to stop spread |
- Tip: Keep a dedicated space for tools to speed up the baking process.
- Tip: Have a simple icing ready for quick decoration after cooling.
Preparing the Perfect Mary Berry Fairy Cakes Mixture
The all-in-one method keeps the recipe tidy and quick. Preheat your oven to 200C/160C Fan/390F so the little sponges rise evenly.
The All-in-One Mixing Method
Into a single bowl put 100g softened butter, 100g caster sugar, 2 eggs, 100g self-raising flour and 1 level tsp baking powder.
Beat the mixture for 2-3 minutes until it is well blended and smooth. This step is crucial for a light texture.
Use a tablespoon to fill each paper case so every cake bakes to the same size. Place cases in a bun tin for support to stop spills.
- If the mix seems too thick, stir gently with a wooden spoon to fold in any dry flour.
- Mary Berry recommends this approach because it is simple and great for children to help with.
- Always check the oven has reached temperature before you bake.
Baking Techniques for Golden Results
Get the timing and heat right and your little sponges will rise to a perfect golden top. Bake the fairy cakes for 15–20 minutes until they are well-risen and golden brown on the top.
Check at the 15-minute mark to make sure they are not browning too quickly. Do not open the oven door early as this can make the sponge sink in the middle.
When baked, remove the tin and allow the cakes to cool slightly. Transfer each case to a wire rack so air circulates underneath. This prevents soggy bottoms and keeps the texture light.
- Use a bun tin or good-quality cake cases so each cake holds a neat shape.
- If your oven has a fan function, reduce temperature slightly and watch timing closely.
- Let the sponges cool completely on the wire rack before adding any icing to avoid melting.
The result should be a light, fluffy sponge that is well blended and ready for decoration. Follow these simple baking steps and your recipe will yield reliably golden, delicious treats every time.
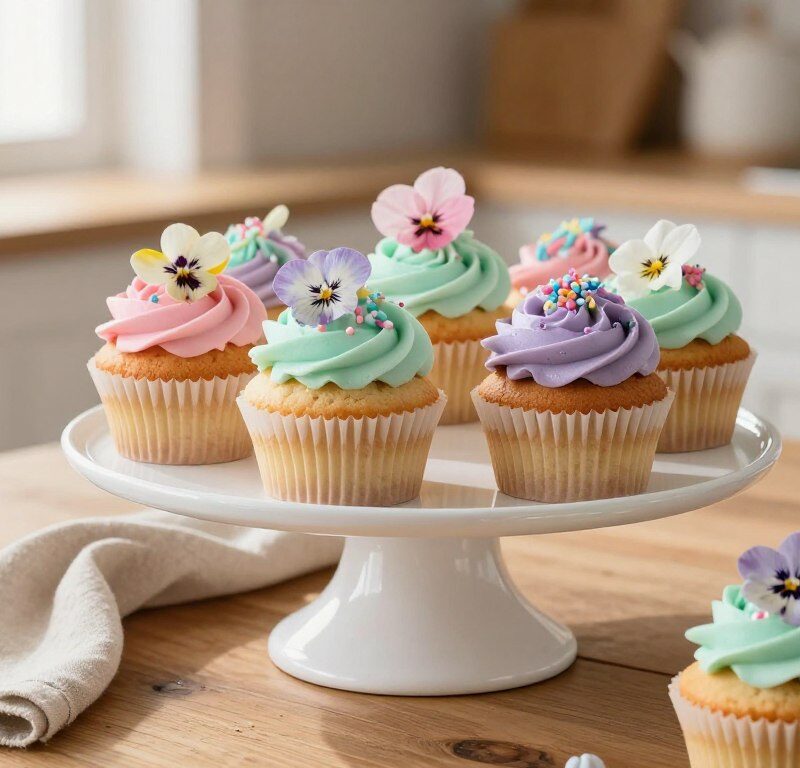
Creative Ways to Decorate Your Fairy Cakes
A plain sponge becomes memorable when you add a swirl of icing, a scatter of sprinkles or playful butterfly wings. Decorating is quick and gives each treat a personal touch.
Classic Icing Swirls
To make the icing, beat 225g of icing sugar with a little water until smooth and spreadable. Add water slowly so the mixture stays thick and does not run to the top of the cakes.
Pipe or spoon a neat swirl of butter icing for a professional finish. This gives cupcakes a clean, polished look.
Adding Sprinkles for Colour
Pour sprinkles into a small bowl so children can dip each cake without making a mess. Let them choose shapes and shades to make decorating fun.
Creating Butterfly Wings
Cut the cooled cake top in half and place the two slices on the icing to form wings. This simple trick makes charming butterfly party treats that kids will love.
| Decoration | How to do it | Best for |
|---|---|---|
| Classic swirl | Pipe butter icing in a circular motion | Afternoon tea, neat finish |
| Sprinkles | Dip iced cakes into a bowl of sprinkles | Kids’ parties, colourful display |
| Butterfly wings | Cut top, place halves on icing as wings | Special occasions, themed trays |
Expert Tips for Storing and Customising Your Treats
A little planning lets you freeze, customise and serve perfect fairy cakes for any afternoon tea.
Store cooled sponges in an airtight container for a few days. This keeps them fresh and ready for a quick spread.
If you need longer storage, freeze un-iced sponges wrapped well for up to 3 months. Make sure they are fully defrosted at room temperature before you add any icing or decorations.
To customise, add extracts or zest to the mixture in the bowl, or colour the icing sugar to suit a theme. Small changes can transform the cake for parties or picnic trays.
If tops brown too fast, cover the tin loosely with foil while they finish in the oven. Cool on a wire rack so moisture does not collect underneath.
| Tip | When to use | Benefit |
|---|---|---|
| Airtight container | After cooling | Keeps sponges fresh for a few days |
| Freeze un-iced | Longer storage | Lasts up to 3 months |
| Adjust icing sugar ratio | Before decorating | Choose stiffer or runnier cakes icing finish |
| Cover with foil | If tops brown | Protects the top while baking |
These small steps make the recipes easier to plan and keep your afternoon tea simple and special in just a few minutes.

Conclusion
A few reliable steps and the right ingredients turn a basic mixture into a beloved recipe. Using good sugar, a level of baking powder and careful measurements gives a light sponge every time for mary berry fans and novices alike.
These fairy cakes suit afternoon tea, children’s parties or a quick treat. Try butterfly cakes for a playful finish and use a sturdy tin so each cupcake keeps its shape.
Remember: control the oven temperature, let the sponges cool fully before adding icing, and enjoy the process. With this simple guide you can recreate a classic victoria sponge feel and share warm, nostalgic bakes with friends and family.
FAQ
How long does it take to make these fairy cakes from start to finish?
What essential equipment do I need to make the recipe?
Which ingredients are necessary and can I substitute any of them?
What is the all‑in‑one mixing method and why use it?
How can I tell when the cakes are fully baked?
How do I make classic butter icing and pipe neat swirls?
Any ideas for simple decorations for an afternoon tea table?
How should I store the cakes and how long will they keep?
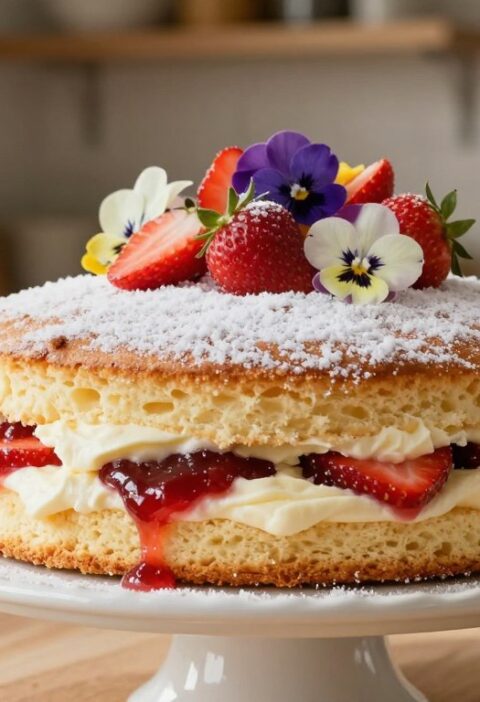
Can I make variations like a victoria sponge or add flavours?
Why do some cakes sink in the middle and how can I prevent it?
Mary Berry Fairy Cakes
Mary Berry's classic treats are a beloved part of British afternoon tea, known for their light texture and simple icing. These small sponge morsels are perfect for parties and family baking.
Ingredients
- 100g softened butter
- 100g caster sugar
- 2 large eggs
- 100g self-raising flour
- 1 level tsp baking powder
- 12 fairy cake cases
Method
- Preheat your oven to 200C/160C Fan/390F.
- In a mixing bowl, combine 100g softened butter, 100g caster sugar, 2 eggs, 100g self-raising flour, and 1 level tsp baking powder.
- Beat the mixture for 2-3 minutes until well blended and smooth.
- Use a tablespoon to fill each fairy cake case in a bun tin.
- Bake the fairy cakes for 15-20 minutes until well-risen and golden brown.
- Remove the tin and allow the cakes to cool slightly before transferring to a wire rack.
- Once cooled, decorate with icing and sprinkles or create butterfly wings by cutting the tops in half.