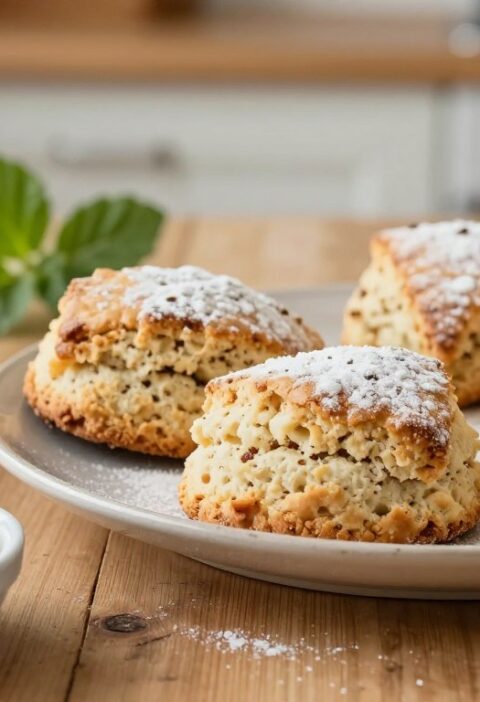
These classic scones are light, tender and perfectly balanced. The gentle tang from the buttermilk gives a soft crumb that stays moist without feeling heavy. This recipe is ideal for a cosy afternoon at home or for last‑minute guests.
Preparation is quick and rewarding. The dough comes together in moments and bakes in under 15 minutes, so fresh warm scones are never far away. Simple steps help the rounds rise evenly in the oven for a golden finish.
Whether you are hosting an afternoon tea or craving a homemade treat, this mary berry recipe delivers consistent, professional-quality results. Expect fluffy texture, buttery notes and a dependable method you can repeat with confidence.
Key Takeaways
- Quick recipe that bakes in under 15 minutes, ideal for unexpected guests.
- Buttermilk ensures a tender, moist crumb with a subtle tang.
- Simple baking steps create even rise and a golden oven finish.
- Perfect addition to afternoon tea and everyday treats.
- Reliable technique for consistent, light results each time.
The Appeal of Mary Berry Buttermilk Scones
What sets this recipe apart is the way the dough reacts to acidity, producing a delicate, fluffy interior. The acidity in the buttermilk works with the raising agent to tenderise the gluten and give a softer texture.
The result is a scone that’s airy inside and lightly crisp outside. That contrast in texture makes each bite pleasingly light and satisfying.
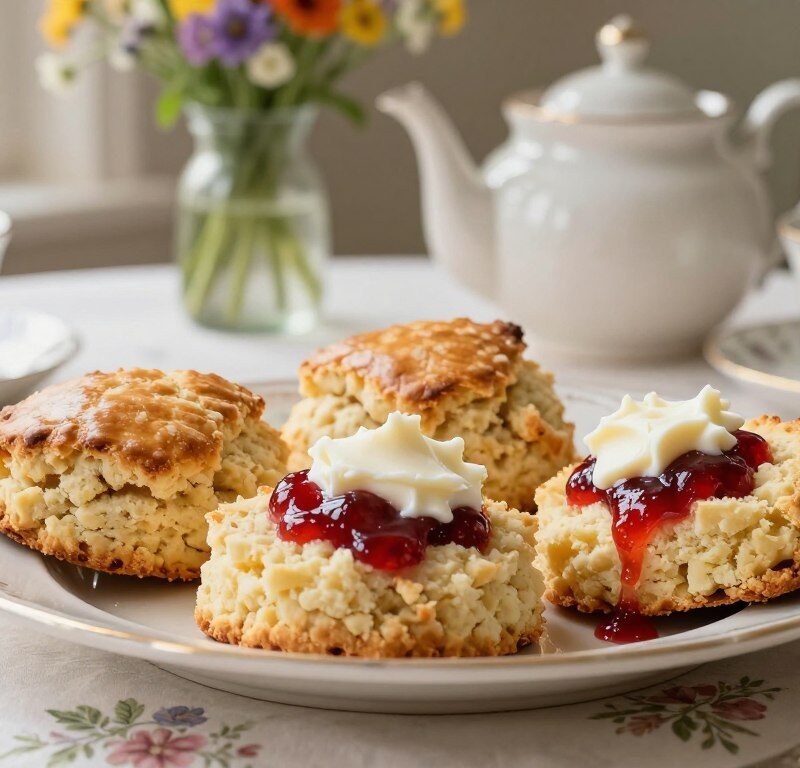
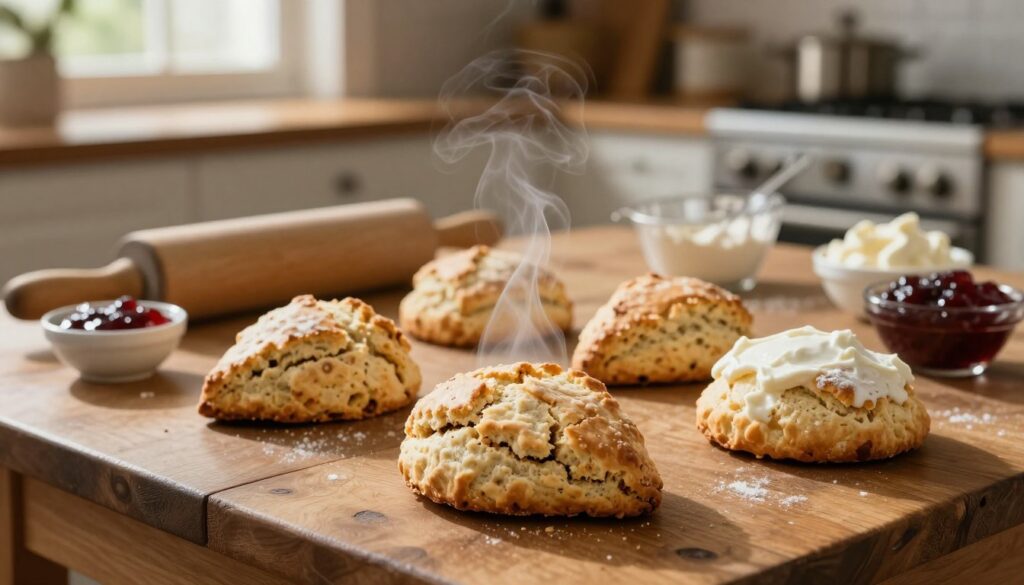
These scones shine when served warm with a spoonful of jam and a generous dollop of clotted cream. For a classic British afternoon treat, this pairing is hard to beat.
Minimal handling is essential. Press the dough gently so the final crumb remains soft rather than dense. This simple step keeps the texture delicate and the flavour slightly tangy from the buttermilk.
“A subtle tang from the buttermilk lifts the flavour and creates a tender crumb.”
- Versatile base for sweet or savoury toppings.
- Quick to make and ideal for a relaxed afternoon tea.
Essential Ingredients for Your Baking
Good scones start with the right ingredients and tidy mise en place. Measure accurately and have a large mixing bowl ready so you can work fast and lightly.
Dry Ingredients
In the bowl, sift or whisk together 350 g self-raising flour, a pinch of salt and 3 tablespoons of caster sugar.
If you must use plain flour, add 1–2 teaspoons of baking powder so the dough rises well. Whisking dry ingredients ensures even distribution before the butter goes in.
Wet Ingredients
Use 85 g cold, diced unsalted butter. Cold fat creates pockets of steam for a flaky, tender crumb.
Measure 175–200 ml of buttermilk for the right consistency. If you do not have buttermilk, you can make buttermilk by stirring 1 tablespoon lemon into milk and leaving it briefly.
- Tip: Keep the butter chilled until the moment you rub or cut it in.
- Tip: Combine all dry items in the bowl first for an even mix and a predictable dough.
For a savoury twist or more guidance on variations, see this cheese scone recipe.
Preparing the Scone Dough
Start by preparing your work surface and placing the measured ingredients near your bowl. Keep the butter cold and the flour ready.
Mixing Techniques
Rub the butter into the flour using your fingertips until the mixture looks like fine, sandy breadcrumbs. This creates pockets that help a light crumb during baking.
Pour in most of the buttermilk and use a round-tipped knife to fold the mixture. Mix gently; the aim is a soft, not sticky, dough.
Turn the dough out onto a floured surface and pat it together with minimal handling. Use the cutter only when the dough just holds its shape.
- Tip: Avoid excessive kneading to keep the crumb tender.
- Tip: If the mixture feels dry, add a splash more buttermilk, a little at a time.
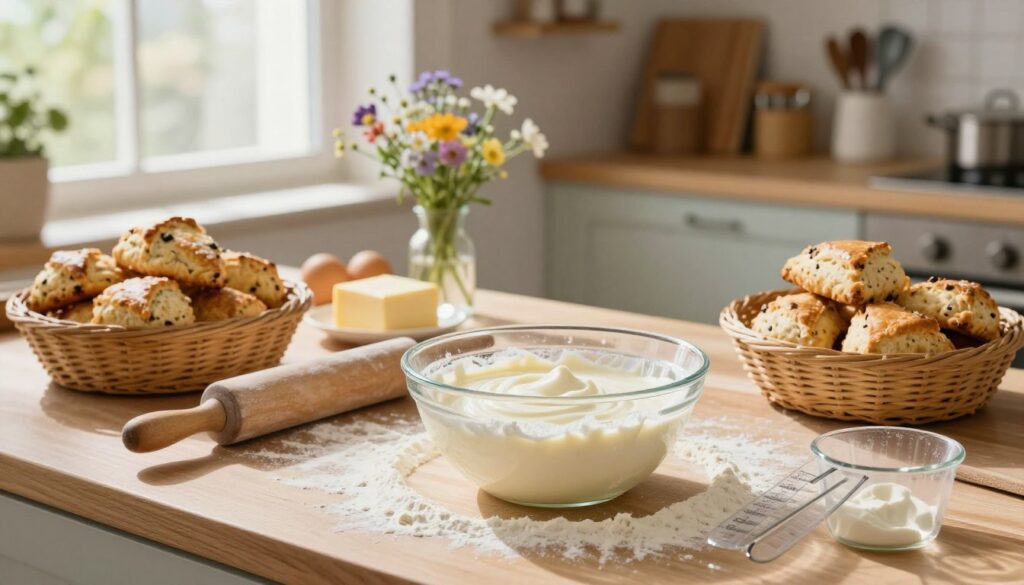
| Action | Tool | Quick Tip |
|---|---|---|
| Rub in butter | Fingertips | Cold butter for flaky texture |
| Combine with buttermilk | Round-tipped knife | Mix gently to avoid overworking |
| Shape and cut | Cutter | Press straight down; don’t twist |
Mastering the Rolling and Cutting Process
Turn the dough out onto a lightly floured work surface and handle it with care. Gently pat the dough to about 2.5 cm thick so the scones rise evenly in the oven.
Use a 5–6 cm round cutter and press straight down. Do not twist the cutter — a straight press helps the sides of each scone rise vertically for a neat, professional look.
If the dough sticks to the surface, dust with a little extra flour, just enough to prevent sticking without drying the mixture. Keep movements light; overworking the dough will toughen the crumb.
The butter must remain cold throughout this stage. Work quickly so the small chunks of butter stay intact and create flaky layers during baking.
“Press straight down without twisting the cutter to encourage an even rise.”
- Tip: Turn onto the board and pat; don’t roll out thin.
- Tip: Use the cutter close together to avoid reworking the dough.
Baking to Perfection
A hot oven and precise timing are the secrets to tall, tender scones with a crisp crust. Follow a clear routine and the results will be consistent every time.
Oven Temperature
Preheat your oven to 220°C (200°C fan). This initial blast of heat gives the dough a quick lift and creates those flaky layers from cold pieces of butter.
Brush the tops lightly with beaten egg and take care that the glaze does not run down the sides. Bake for 12–15 minutes until well risen and lightly golden on the tops.
Cooling on a Wire Rack
When the oven minutes are up, remove the tray and transfer the scones straight to a wire rack. Cooling on a wire rack prevents the bottoms from going soggy and keeps the exterior crisp.
Mary Berry recommends this step to preserve a soft, fluffy interior. If you bake for the full 15 minutes, the centre will be cooked through while the outside stays golden and crisp.
- Preheat: 220°C (200°C fan) for the best rise.
- Glaze: Brush tops with beaten egg, avoid drips on the sides.
- Bake minutes: 12–15 minutes until lightly golden.
- Finish: Transfer to a wire rack immediately to cool.
Troubleshooting Common Scone Issues
A few simple checks will fix most problems bakers meet when their scone batch looks off. Start with the cutter and your technique before changing the recipe.
If your scones are flat: press the cutter straight down into the dough without twisting. A clean, vertical press helps the sides rise and gives a taller result.
Dry texture? That usually comes from too much flour on the board or overworking the dough. Keep the mix soft and handle it gently. If the dough feels tight, add a splash more buttermilk to loosen it.
Pale tops after baking: brush with a light egg glaze before the tray goes into the oven to improve colour and shine.
- Uneven rise — ensure the oven is fully preheated to 220°C.
- Use a sharp cutter so the edges stay neat and the scones can lift without compression.
“Small technique changes often fix what looks like a failed batch.”
Creative Variations to Try
A few easy swaps will turn the basic round into fruity bites, tangy citrus treats or rich cheese rounds. These ideas work with the same dough method and keep the bake fast and reliable.
Fruit Additions
For a fruity twist, fold a handful of sultanas or dried cranberries into the dry mixture before adding the liquid.
Tip: Toss the fruit in a little flour so it disperses evenly and does not sink as the rounds bake.
Savoury Cheese Options
To make cheese versions, reduce the sugar and fold in a generous amount of grated mature cheddar.
Herbs such as chives lift the flavour — add them to the dry ingredients for an even mix. These savoury rounds pair well with butter at tea time.
Citrus Zest
Add grated lemon or orange zest to the flour and baking powder for a bright lift. A teaspoon of lemon juice in the wet mix deepens the citrus note.
Serving idea: Use a small cutter to make mini versions for parties. Handle the dough gently so the texture stays light.
- Fruit: sultanas or cranberries in the dough mixture.
- Cheese: omit sugar, fold in grated cheddar and herbs.
- Citrus: add lemon zest and a splash of lemon juice.
Serving Suggestions for Afternoon Tea
Serve warm rounds straight from the oven to enjoy their crisp tops and soft centres at their best.
For a classic finish, place a dollop of clotted cream and a spoonful of high-quality strawberry jam on the side. The sweet jam and rich cream balance the buttery crumb beautifully.
For a lighter choice, offer fresh berries or a small scoop of Greek yoghurt. These options add a fresh, bright contrast and suit guests who prefer less richness.
A pot of hot tea completes the presentation. Tea cuts through the cream and lifts each bite, making every pause between mouthfuls pleasant.
“Serve these warm — the contrast between soft interior and crisp exterior is at its finest at this time.”
- Arrange on a tiered stand for an elegant afternoon tea display.
- Add a small bowl of lemon curd for a sharp, refreshing contrast at special occasions.
| Item | Why it works | Serving tip |
|---|---|---|
| Strawberry jam | Classic sweet note that complements butteriness | Spoon into small ramekins for neat serving |
| Clotted cream | Traditional, indulgent texture and flavour | Serve chilled but not frozen to spread easily |
| Fresh berries | Brightens the plate and lightens richness | Rinse and pat dry shortly before serving |
Conclusion
A handful of careful steps turns basic flour and butter into a light, tender scone. Keep ingredients cold, handle the dough gently and use a sharp cutter to help them rise tall.
This recipe works in a single bowl and bakes in minutes in a hot oven. Cool on a wire rack so the tops stay crisp while centres remain soft.
Serve warm with jam and clotted cream for classic afternoon tea, or try savoury variations for something different. With the right technique and simple ingredients, this reliable recipe will become a favourite every time.
Tip: If you need to, add buttermilk or make buttermilk from milk and lemon to reach the right mixture and texture before you cut scones.
FAQ
What makes this buttermilk scone recipe special?
Which dry ingredients should I weigh out first?
What wet ingredients are needed and can I substitute any?
How should I mix the dough to avoid tough scones?
What is the best way to roll and cut the scone dough?
At what oven temperature should scones bake and for how long?
Why should I cool scones on a wire rack?
My scones spread and look flat — what went wrong?
How can I add fruit or cheese without ruining the dough?
Can I add citrus zest or lemon juice to the recipe?
What are simple serving suggestions for afternoon tea?
Mary Berry Buttermilk Scones
These classic scones are light, tender and perfectly balanced. The gentle tang from the buttermilk gives a soft crumb that stays moist without feeling heavy. Ideal for a cosy afternoon at home or for last-minute guests.
Ingredients
- 350 g self-raising flour
- a pinch of salt
- 3 tablespoons caster sugar
- 85 g cold, diced unsalted butter
- 175–200 ml buttermilk
Method
- Preheat your oven to 220°C (200°C fan).
- Sift or whisk together the self-raising flour, salt, and caster sugar in a large mixing bowl.
- Rub the cold butter into the flour mixture using your fingertips until it resembles fine breadcrumbs.
- Pour in most of the buttermilk and use a round-tipped knife to fold the mixture gently until it forms a soft dough.
- Turn the dough out onto a floured surface and pat it together with minimal handling.
- Roll the dough to about 2.5 cm thick and use a 5–6 cm round cutter to cut out scones, pressing straight down without twisting.
- Place the scones on a baking tray and brush the tops lightly with beaten egg.
- Bake in the preheated oven for 12–15 minutes until well risen and lightly golden.
- Transfer the scones to a wire rack to cool slightly before serving.