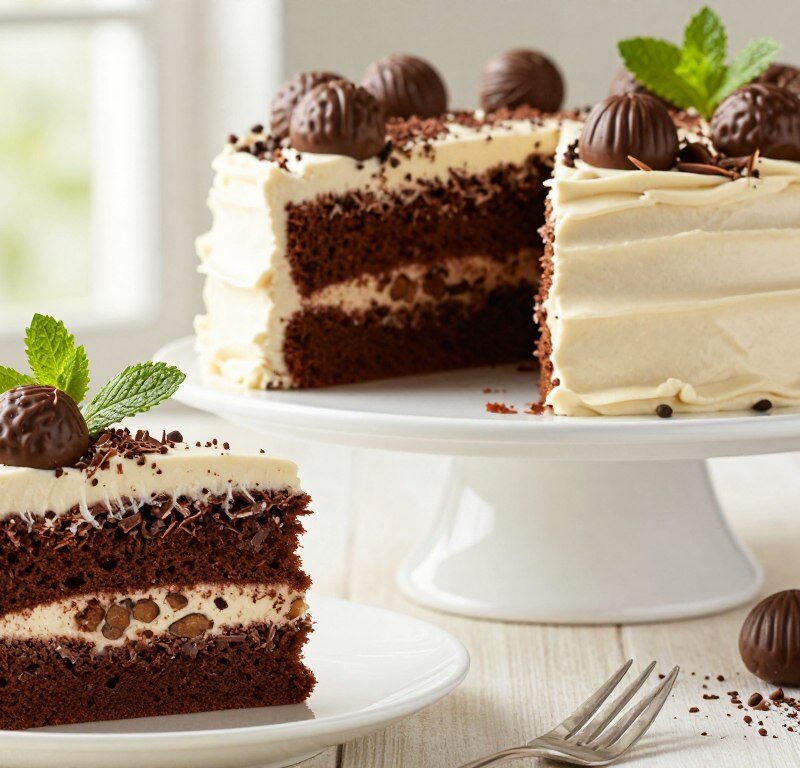
This classic British treat blends a light chocolate sponge with a malted buttercream to create a nostalgic and crowd-pleasing centerpiece.
Designed for family gatherings and afternoon tea, the recipe balances simple technique with indulgent flavour. The sponge is airy, the filling is creamy, and the malt note gives a playful crunch.
Whether you are honing your baking skills or seeking a fuss-free showstopper, this chocolate cake offers clear steps and rewarding results. It invites bakers of all levels to share a slice and relive childhood favourites.
Key Takeaways
- Classic British dessert: a malted, chocolate sponge that tastes of nostalgia.
- Created by a celebrated cook to be both indulgent and straightforward.
- Suitable for novice and experienced bakers alike.
- Perfect for family occasions and afternoon tea.
- The recipe teaches sponge technique while delivering a memorable finish.
Why Everyone Loves the Mary Berry Malteser Cake
This bake combines light sponge, malted buttercream and a crunchy finish to create an instant favourite.
Nostalgic appeal: The use of maltesers evokes childhood memories for many adults. That crunchy, malted centre contrasts with soft chocolate layers. The result feels comforting and playful in equal measure.
Perfect for gatherings: This cake works beautifully for birthdays, weekend treats and family get-togethers. It looks impressive on the table yet stays simple to prepare. Guests of all ages enjoy the mix of textures and familiar flavours.
Mary Berry created the recipe to be both fun and reliable. The light sponge keeps the bake from feeling heavy, while the malted buttercream and crunchy topping add indulgence. Follow the steps and you’ll achieve a professional finish with minimal fuss.
- Balanced texture: airy sponge plus crunchy topping.
- Wide appeal: kids and adults both enjoy it.
- Easy to recreate: a straightforward recipe with showstopping results.
Essential Ingredients for Your Chocolate Sponge
A reliable chocolate sponge begins with a handful of simple, well-measured ingredients.
To start, measure 175g self-raising flour and 1 tsp baking powder into a bowl. This ensures the sponge rises evenly and keeps the crumb light.
Weigh 175g caster sugar and 175g softened butter. Creaming these together gives the batter its airy texture and helps the chocolate flavour lift.
Into a large bowl measure 2 tbsp cocoa powder and 2 tbsp malted chocolate drink powder. Accurately measure malted chocolate drink powder and cocoa powder — these two ingredients create the signature malted chocolate note.
- 3 large eggs and 2 tbsp milk bind the mixture and give the correct batter consistency.
- Use the exact measures above to prevent a dense or soggy sponge.
Quick checklist: 175g flour, 1 tsp baking powder, 175g caster, 175g butter, 3 eggs, 2 tbsp cocoa, 2 tbsp malted milk powder, 2 tbsp milk.
Preparing Your Tins and Oven
Start by stabilising your oven temperature and preparing two round tins for the batter.
Preheat the oven to 180°C (160°C fan) so the heat is steady when the sponges go in.
Grease two 20cm round tins thoroughly with butter. This prevents the sponge from sticking and helps the layers lift out cleanly.
Line the bases with baking paper for an easy release. Smooth the paper into the base so the sponge bakes evenly without air pockets.
Proper preparation means the layers will bake level and look professional. Taking a few minutes now saves time later when assembling the cake.
| Step | Why it matters | Tip |
|---|---|---|
| Preheat oven | Stable temperature ensures even rise | Use 180°C (160°C fan) |
| Grease tins | Prevents sticking and tearing | Use softened butter |
| Line with paper | Easy release and cleaner edges | Cut paper circles for a neat fit |
| Check position | Even air circulation avoids uneven baking | Place tins in the centre of the oven |

Mixing the Perfect Chocolate Batter
Smooth batter, even distribution of cocoa and malt, and gentle mixing deliver a tender crumb every time.
Achieving the Right Consistency
In a large bowl, cream 175g softened butter and 175g caster sugar until pale and fluffy. This step traps air and gives a light sponge.
Beat in 3 eggs one at a time. Stir well after each addition to keep the mixture stable and avoid curdling.
Measure the malted chocolate drink powder and cocoa powder into a separate bowl. Pour over 2 tbsp of warm water and stir to make a smooth paste. This intensifies the chocolate and malt flavours.
Sift in 175g self-raising flour with 1 tsp baking powder. Add 2 tbsp milk and mix smooth using gentle strokes. Do not overmix — stop when the dry ingredients disappear.
- Tip: measure malted chocolate drink powder carefully to balance flavours.
- Tip: use 2 tbsp malted milk powder in the batter for a subtle malt note.
| Stage | Action | Why it matters |
|---|---|---|
| Creaming | Cream butter and sugar in a large bowl | Incorporates air for a light sponge |
| Eggs | Beat in eggs one at a time | Maintains stable emulsion and structure |
| Chocolate mix | Make paste with cocoa and malt powder + 2 tbsp water | Evenly distributes flavour without lumps |
| Drys & liquid | Sift flour + tsp baking powder, add 2 tbsp milk, mix smooth | Prevents overworking and keeps crumb tender |
Baking the Sponge Layers
Even baking starts with an organised oven and two evenly filled 20cm tins.
Divide your batter equally between the tins and place them in the oven at 180°C (160°C fan).
Bake for 20–25 minutes until the sponges have risen and a skewer inserted into the centre comes out clean.
After removing from the oven, leave the sponges in their tins for 10 minutes. This short rest helps them firm up so they keep their shape.
Turn the layers out onto a wire rack to cool completely. Mary Berry stresses that cooling fully on a wire rack is vital before you ice or decorate.
Using baking paper in the tins ensures the sponges release cleanly when you turn them out onto the wire rack to cool.
- Tip: avoid opening the oven in the first 15 minutes so the rise stays steady.
- Tip: check with a skewer; if crumbs cling, give another minute or two.
Creating the Malted Buttercream Frosting
Make the icing in stages to keep flavours bright and the texture silky.
Mixing the Malted Chocolate
Start the icing by dissolving the malted chocolate drink powder in a bowl. Add 1.5 tbsp hot milk and stir until the paste is smooth. This prevents lumps and gives a clear malted note.
Beat 125g butter with 250g icing sugar and 2 tbsp cocoa powder until the mixture is light and fluffy. Fold in the malt paste and the melted chocolate, then mix smooth so the buttercream is even and spreadable.
Achieving a Glossy Finish
To give the icing a professional shine, add 1 tbsp boiling water and beat briefly. The hot liquid loosens the mix and produces a glossy finish that sits neatly on layers.
| Stage | What to add | Result |
|---|---|---|
| Malt paste | Measure malted chocolate drink powder + 1.5 tbsp hot milk | Gluten-free, smooth malt base |
| Buttercream | 125g butter, 250g icing sugar, 2 tbsp cocoa powder | Light, fluffy filling |
| Gloss | 1 tbsp boiling water | Shiny, spreadable icing |
- Tip: mix smooth and test spreadability on a cooled sponge.
- Tip: if too thick, add 1 tsp hot milk at a time to adjust.
Assembling Your Masterpiece
Bring the layers together on a board or plate and work swiftly while the buttercream is still soft.
Place the first sponge on your chosen serving plate. Spread half of the malted buttercream evenly with a palette knife so the layer is level and tidy.
Gently sandwich the second sponge on top, aligning the edges for a neat chocolate cake presentation. Press lightly so the layers sit snugly without squeezing out excess icing.
Use the remaining buttercream to cover the top. Smooth it for a sleek finish, or use the tip of a rounded palette knife to create a swirled effect from the centre to the edge for added flair.
The icing sugar in the buttercream helps the topping hold its shape and keeps any decorations secure on the top.
- Work with room-temperature buttercream for an even spread.
- Use gentle strokes to avoid tearing the sponge.
- Finish with a light dusting of malted powder or cocoa powder if you like extra chocolate on the top.
Adding the Finishing Touches
The final stage is where texture and visual appeal meet to delight guests.
Arrange 20 whole and crushed Maltesers across the top of the cake to add crunch and extra chocolatey sweetness.
Use a smooth palette knife to tidy the icing edges so the sweet topping becomes the focal point.
Just before serving, give the assembled top a light dusting of icing sugar. This little powder lift makes the presentation feel finished and festive.
“Arrange the sweets last to keep them crisp and bright on the surface.”
| Finishing element | Purpose | Quick tip |
|---|---|---|
| Whole and crushed Maltesers | Crunch and visual contrast | Scatter evenly, keep centre clustered |
| Light dusting of icing sugar | Clean, finished look | Sift gently from 20cm height |
| Palette knife tidy | Sharp edges, neat presentation | Warm knife slightly for smooth strokes |
Serve immediately after these final touches so the sugar stays bright and the sweets remain crisp. An extra dusting of confectioner’s powder at the last minute never hurts.
Expert Tips for Success
Use a handful of reliable habits to keep your bake light and the finish neat.

Preventing Dense Sponges
Cream butter and sugar in a large bowl until pale and fluffy. This traps air and helps the sponge rise.
Beat in eggs one at a time and stop mixing as soon as the flour disappears. Overworking the batter risks a heavy texture.
Weigh your ingredients — a small change in flour or eggs can alter the structure. Check the oven so you do not bake for too many minutes.
Storing Your Cake
For short-term storage, keep your assembled cake in an airtight container at room temperature for 2–3 days.
If you expect guests, finish the top with icing and a light dusting of powder just before serving for the best look.
Freezing for Later
Freeze sponge layers (without buttercream) for up to 1 month. Wrap them well, then cool on a wire rack before bagging to avoid condensation.
When thawing, leave layers on a rack at room temperature and re-ice as usual. A quick plus extra dusting right before serving lifts the presentation.
| Tip | Why it matters | Quick action |
|---|---|---|
| Proper creaming | Prevents dense sponge | Cream butter & sugar in a large bowl until pale |
| Accurate weighing | Keeps structure consistent | Weigh flour and eggs precisely |
| Oven checks | Prevents over-baking | Monitor time in minutes and test with a skewer |
| Freeze layers | Extends life up to 1 month | Cool on wire rack, wrap well, label date |
Conclusion
This recipe shows how careful technique and simple ingredients create a timeless British dessert that delights at family gatherings and afternoon tea. strong,
By following the steps — from measuring to gentle mixing — you can produce a professional-quality chocolate sponge with a silky malted buttercream finish. Take your time with prep and cooling for the best result.
Serve it for birthdays, casual get-togethers or a special tea. Enjoy the process of baking and sharing this nostalgic treat with loved ones for a memorable dessert experience.
FAQ
What size tins and oven temperature should I use?
Which flour and raising agent work best for the sponge?
How do I achieve the right batter consistency?
Can I use malted chocolate drink powder in the frosting?
How long should the sponges bake for?
What’s the best way to make a glossy chocolate topping?
How many Maltesers or similar sweets should I use for decoration?
How can I prevent a dense sponge?
How should I store the finished cake?
Can I freeze the cake or sponge layers?
Do I need special tools to assemble the layers neatly?
Can I adjust the sweetness or chocolate intensity?
What’s the best order to assemble and decorate the cake?
Mary Berry Malteser Cake
This classic British treat blends a light chocolate sponge with a malted buttercream to create a nostalgic and crowd-pleasing centerpiece.
Ingredients
- 175g self-raising flour
- 1 tsp baking powder
- 175g caster sugar
- 175g softened butter
- 3 large eggs
- 2 tbsp cocoa powder
- 2 tbsp malted chocolate drink powder
- 2 tbsp milk
- 125g butter (for frosting)
- 250g icing sugar
- 2 tbsp cocoa powder (for frosting)
- 1.5 tbsp hot milk (for frosting)
- 20 whole Maltesers
- crushed Maltesers (for decoration)
Method
- Preheat the oven to 180°C (160°C fan) and grease two 20cm round tins with butter.
- Line the bases of the tins with baking paper.
- In a large bowl, cream together the softened butter and caster sugar until pale and fluffy.
- Beat in the eggs one at a time, stirring well after each addition.
- In a separate bowl, mix the cocoa powder and malted chocolate drink powder with 2 tbsp of warm water to make a smooth paste.
- Sift in the self-raising flour and baking powder, then add the milk and mix until smooth.
- Divide the batter evenly between the prepared tins and bake for 20-25 minutes until a skewer comes out clean.
- Allow the sponges to cool in the tins for 10 minutes before turning them out onto a wire rack to cool completely.
- For the frosting, dissolve the malted chocolate drink powder in a bowl with 1.5 tbsp hot milk.
- In a separate bowl, beat the butter with icing sugar and cocoa powder until light and fluffy, then fold in the malt paste.
- Add 1 tbsp boiling water to the frosting and mix until glossy.
- Place one sponge on a serving plate and spread half of the malted buttercream on top.
- Sandwich the second sponge on top and use the remaining buttercream to cover the top of the cake.
- Arrange whole and crushed Maltesers on top for decoration.
- Dust with icing sugar just before serving.