This classic takes a simple route to a light, tender crumb. The famed method mixes everything in a single bowl to keep things quick and tidy. Follow the steps and you will see how easy baking can be when technique is clear and fuss is minimal.
Start by beating the ingredients in a large bowl for 2 minutes until just blended. That short burst of mixing creates a smooth batter and helps produce a moist slice. The total time to a ready bake is under 40 minutes, so this is ideal for a speedy teatime treat.
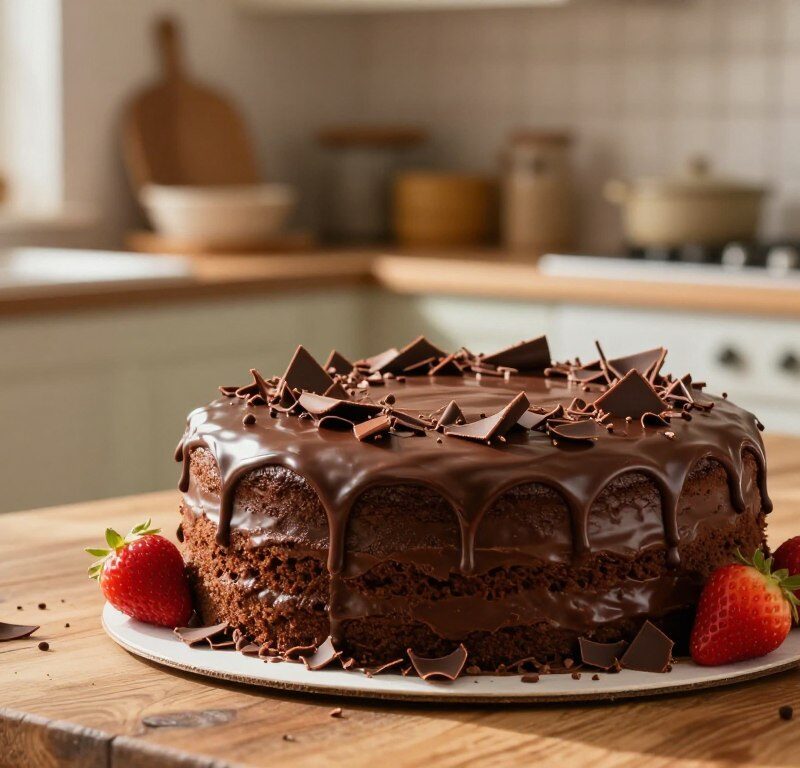
The result is a rich chocolate fudge flavour that feels indulgent yet simple to achieve. Use this recipe as a reliable base for celebrations or a cosy afternoon. With clear steps and modest equipment, professional-quality results are within easy reach.
Key Takeaways
- Fast and reliable: a true British favourite that bakes in under 40 minutes.
- Single-bowl method: minimal washing up and maximum efficiency.
- Short mixing time: beat for two minutes to combine ingredients without overworking.
- Moist texture: produces a tender crumb every time.
- Rich flavour: delivers a chocolate fudge finish that feels special.
Why You Will Love This Mary Berry All In One Chocolate Cake
Beginners love this approach because it skips tricky creaming stages and still yields a fine crumb.
The method is forgiving and fast. It uses a single bowl so there is less faff and fewer steps to follow. That simplicity helps you get consistent results each time.
This recipe produces a light, tender cake that slices cleanly for a neat presentation. The balance of deep cocoa notes and sweetness creates a true chocolate fudge profile that feels indulgent without being heavy.
Whether you’re new to baking or have plenty of experience, the finish lifts the whole bake. A smooth chocolate icing gives a glossy, professional look and keeps the sponge moist.
- Reliable texture: even crumb and tidy slices.
- Easy technique: single-bowl mixing for stress-free baking.
- Great finish: glossy chocolate icing that looks the part.
Essential Equipment and Ingredients
The right tins and a measured list of ingredients are the foundation of a reliable sponge.
Choosing the Right Tins
Use 20cm (8-inch) round sandwich tins with straight vertical sides and loose bases. These help the sponge rise evenly and release cleanly after baking.
Loose bases reduce damage when you turn sponges out. Straight sides give neat layers for stacking and icing.
Selecting Quality Cocoa
Pick cocoa powder with 40–50% cocoa solids for a deeper, less sweet chocolate fudge flavour. Measure 40g of cocoa powder and 175g of self-raising flour for consistency.
Weighing ingredients is essential. Using 175g caster sugar and 175g butter gives structure and a tender crumb.
- Have a large mixing bowl, electric whisk and a wire rack.
- A rounded tsp of baking powder ≈ 1¼ tsp for a reliable rise during the 25 minutes of baking.
- Weigh everything, including 40g cocoa and 175g flour, to keep your sponge even.

Preparing Your Kitchen for Baking
Before you touch the bowl, take two minutes to check oven settings and line your tins.
Preheat the oven to 180°C/160°C fan/350°F so the temperature is steady for the 25 minutes of baking time. Stable heat helps an even rise and a neat crumb.
Grease and line the bases of your 20cm tins with baking paper. Line bases baking paper will prevent sticking and make removal simple.
Gather ingredients and tools before you start. Organise bowls, scales and the whisk to keep the process smooth and efficient while you bake.
| Task | Setting | Why it matters |
|---|---|---|
| Preheat oven | 180c / 160 fan | Ensures even heat for the 25 minutes bake minutes |
| Line bases | Baking paper | Prevents sticking and keeps sponge intact |
| Check calibration | Thermometer | Correct 180c avoids under or over-baking |
Tip: the recipe author mary berry emphasises that correct preparation gives consistent results every time you make this cake.
The All In One Mixing Method
Softened butter is the silent key to a smooth batter; cut it small and let it sit until room temperature.
Place the butter, caster sugar, eggs, self‑raising flour, baking powder and cocoa powder into one large bowl. Use room temperature butter and eggs so they emulsify correctly. This prevents a tough texture and helps the sponge rise evenly to the top of the tins.
Beat the mixture for 2 minutes until it is smooth and creamy. Ensure the cocoa powder is fully incorporated to build that chocolate fudge depth.
If the batter does not drop easily from a spoon, add 1–2 tbsp of warm water or milk. The correct consistency should fall from a spoon without being runny.
- Cut butter into cubes and rest 30 minutes at room temperature.
- Combine all ingredients in one bowl and beat for two minutes.
- Adjust with 1–2 tbsp warm liquid only if the batter is too thick.
The Importance of Room Temperature Ingredients
Keeping butter and eggs at room temperature helps them blend into a stable batter. This creates a finer crumb and a light, tender sponge after baking.
Baking and Cooling Your Sponges
With the oven at the correct temperature, the batter will rise and form a neat, even top.
Place your tins on the middle shelf of the preheated oven at 180c 160 fan and bake for 20–25 minutes. Use this time to tidy the kitchen and prepare a wire rack.
After the bake minutes are complete, test the centre with a clean skewer. If it comes out clean, the sponges are ready to leave the oven 180c 160.
Let the sponges rest in their tins for 5 minutes. Then turn them out carefully onto a wire rack to cool completely before you ice them. Proper cooling stops residual heat from melting the icing and spoiling the finish of your chocolate cake.
If the tops are browning too fast in your oven 180c, loosely tent with foil for the final few minutes. Using bases baking paper when you line bases locks in neat edges and helps sponges release intact.
- Use a skewer to check the centre after 20 minutes.
- Leave cool in tins for 5 minutes, then transfer to a rack to cool completely.
- Tent with foil if the top browns too quickly.
| Step | Action | Why it matters |
|---|---|---|
| Bake | 180c 160 fan for 20–25 minutes | Ensures sponge rises to the top and sets evenly |
| Test | Insert skewer into centre | Confirms sponge is cooked through without over-baking |
| Rest | 5 minutes in tins, then cool on rack | Prevents damage when turning out and lets sponges cool completely |
| Protect | Tent with foil if needed | Stops the top from burning while centre finishes cooking |
Creating the Perfect Chocolate Icing
A well-made icing balances sweetness and depth while sitting neatly on the top.

Achieving a Glossy Ganache
Allow the ganache to cool for up to an hour until it reaches a spreadable consistency. This resting time gives a glossy finish and a smooth texture that holds shape on the sponge.
Troubleshooting Icing Consistency
If the icing is too soft it will run down the sides. Add a little sifted icing sugar to thicken the mix, then beat again with butter at room temperature for a silky result.
Use a palette knife to spread ganache evenly over the first layer and the top. For extra balance, spread a thin smear of tbsp apricot between layers before you add the ganache.
The Importance of Cooling Before Icing
Ensure sponges are completely cold before you ice. Residual heat will melt ganache and ruin the finish. Leave cool on a rack until fully cold to the touch.
| Issue | Fix | Why it helps |
|---|---|---|
| Runny icing | Add sifted icing sugar | Thickens and stabilises the ganache |
| Dull finish | Let ganache cool undisturbed for 45–60 minutes | Temperature drop restores shine |
| Uneven spread | Use a warm palette knife and smooth in one direction | Gives clean edges and a professional look |
Customising Your Chocolate Sponge
A few simple swaps let you tune flavour and texture to suit any occasion.
Add 50g of finely chopped dark chocolate to the bowl for an extra intense chocolate fudge note. You can also grate the zest of one orange into the batter for a bright citrus twist that pairs well with chocolate icing.
Swap the tbsp apricot with seedless raspberry jam if you prefer a fruitier layer between sponges. For a richer finish, use chocolate ganache instead of buttercream; it gives a glossy top and a smooth mouthfeel.
If you need a lighter option, serve slices with a spoonful of whipped cream on top. For dietary needs, try a 1:1 gluten-free flour blend and add an extra tsp of baking powder to help rise.
“Always line your tins with fresh baking paper when customising — it ensures the sponge releases perfectly.”
- Use caster sugar and butter measurements as usual; small flavour changes rarely need major recipe adjustments.
- Keep cocoa powder and baking powder ratios close to the original to retain texture.
- Test small variations first so you can refine the top flavours for your taste.
Conclusion
This mary berry method delivers a moist, rich chocolate fudge sponge you can trust. It uses simple steps and measured ingredients to give a tender result every time.
Follow the single-bowl method and you can achieve a professional-quality cake in under 40 minutes. Keep an eye on sugar levels and bake times, then leave cool on a wire rack before you add icing to the top.
Whether for a birthday or a quiet Sunday tea, this recipe is versatile and forgiving. Use the tips here to perfect your baking and enjoy a dependable, delicious finish each time.
FAQ
What temperature should I set the oven to for this recipe?
Do I need to line the bases of my tins with baking paper?
Can I use a different cocoa powder or must it be a specific type?
How long should the sponges bake for?
Is it important to use room temperature ingredients?
Should I cool the cakes on a rack or in the tins?
How do I make a glossy chocolate ganache?
What can cause a runny or stiff icing and how do I fix it?
Can I use jam or apricot glaze between the sponge layers?
What is the best way to make chocolate fudge icing for a rich finish?
How do I avoid drying out the sponge when baking?
Can I make the cake ahead and freeze it?
What size tins are best for this recipe?
How much caster sugar should I use and can I substitute it?
Is baking powder necessary for this sponge?
How should I store the finished cake to keep it fresh?
Mary Berry All In One Chocolate Cake
This classic takes a simple route to a light, tender crumb. The famed method mixes everything in a single bowl to keep things quick and tidy. Follow the steps and you will see how easy baking can be when technique is clear and fuss is minimal.
Ingredients
- 175g caster sugar
- 175g butter, softened
- 3 large eggs
- 175g self-raising flour
- 40g cocoa powder
- 1 tsp baking powder
- 1-2 tbsp warm water or milk (if needed)
Method
- Preheat the oven to 180°C/160°C fan/350°F.
- Grease and line the bases of two 20cm (8-inch) round sandwich tins with baking paper.
- Place the softened butter, caster sugar, eggs, self-raising flour, baking powder, and cocoa powder into a large mixing bowl.
- Beat the mixture for 2 minutes until smooth and creamy.
- If the batter is too thick, add 1-2 tablespoons of warm water or milk to adjust the consistency.
- Divide the batter evenly between the prepared tins.
- Bake in the preheated oven for 20-25 minutes, or until a skewer inserted into the center comes out clean.
- Let the sponges rest in their tins for 5 minutes before turning them out onto a wire rack to cool completely.
- Once cooled, prepare the chocolate ganache icing and spread it evenly over the top of the cake.