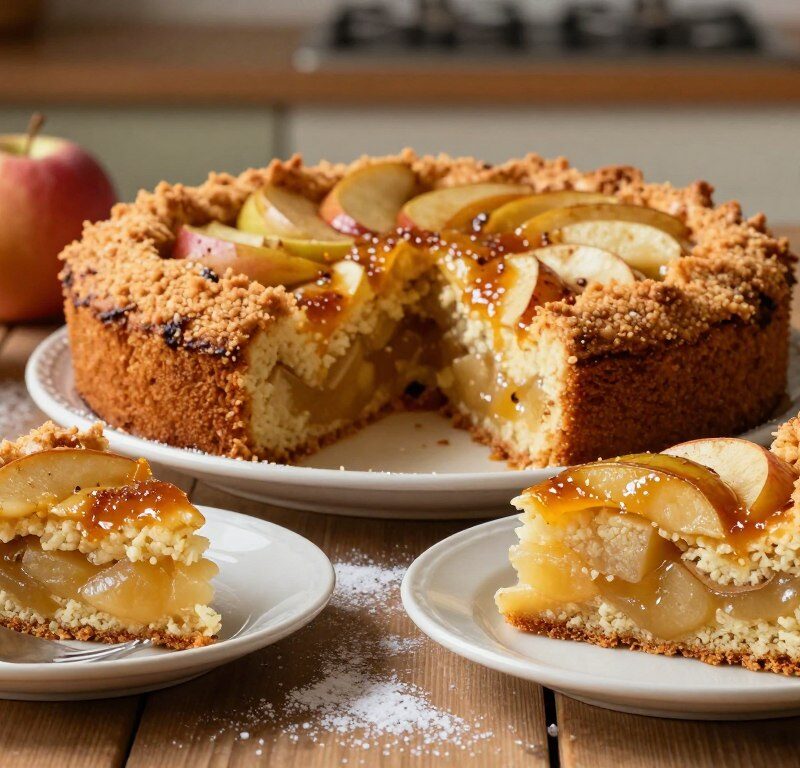
This classic British bake brings comfort to the table with minimal fuss. The recipe uses an all-in-one method so you stir primary ingredients in a single bowl and get a soft, moist result that suits busy days.
Perfect for beginners, the approach keeps steps simple and the technique forgiving. You can expect the tray to be ready in under an hour, which makes it ideal for a weekend teatime or a quick dessert after dinner.
The version here traces back to a legendary British baker whose recipes are prized for reliability. Home cooks value this dish for using seasonal fruit and for its dependable texture. It is a go-to when you want a warm, homely treat without lengthy preparation.
Key Takeaways
- Simple all-in-one method reduces prep and washing up.
- Ready in just under an hour, suited to busy schedules.
- A gentle introduction to baking for new cooks.
- Uses fresh fruit to make a moist, flavourful slice.
- Perfect for tea time or a modest pudding after meals.
Why You Will Love This Mary Berry All In One Apple Cake
Home bakers call this a kitchen lifesaver. The single-bowl approach cuts prep and washing up to a minimum, so you spend more time enjoying tea and less time at the sink.
The fruit keeps the sponge soft and moist for days, giving every slice a fresh taste. You can trust the texture to stay fluffy, which makes this a reliable choice for new cooks.
Made from everyday pantry staples, the recipe needs no specialist ingredients. That means you can start straight away with what you already have on the shelf.
“A truly forgiving method that delivers consistent results for busy households.”
- Minimal washing up thanks to one-bowl mixing.
- Lasts well — keeps moist slices for several days.
- Versatile for afternoon tea or a family pudding.
| Benefit | Why it matters | Best use |
|---|---|---|
| Easy method | Less prep, fewer dishes | Weeknight baking |
| Moist sponge | Fruit keeps texture soft | Tea time slices |
| Pantry staples | No special shopping | Quick desserts |
Essential Ingredients for Your Sponge
Start by choosing ingredients that work together to give a light, even rise and a moist crumb.
Choosing the Right Apples
Use 2 medium apples, peeled, cored and diced so they mix evenly through the batter. Firm, slightly tart varieties give the best balance with the sweetness of the sponge.
Pantry Staples
Measure carefully: 175g softened unsalted butter, 175g caster sugar and 175g self-raising flour form the cake’s backbone.
Add 3 large eggs to bind and lift. Stir in 1 teaspoon of baking powder and a teaspoon of vanilla extract for a gentle flavour lift.
Combine everything in a large mixing bowl using a handheld mixer or stand machine for a smooth, even batter.
“Accurate weights and gentle mixing make for the most consistent sponges.”
- Butter: 175g softened unsalted for structure and richness.
- Sugar: 175g caster for a fine crumb and even sweetness.
- Flour & raising: 175g self-raising flour plus 1 tsp baking powder.
| Ingredient | Amount | Reason |
|---|---|---|
| Unsalted butter | 175g | Provides richness and tender crumb |
| Caster sugar | 175g | Dissolves easily for a fine texture |
| Self-raising flour | 175g | Contains raising agents for lift |
| Eggs | 3 large | Bind ingredients and add lift |
| Baking powder | 1 tsp | Ensures an even rise |
Kitchen Equipment You Will Need
Gathering the right kit makes baking simpler and keeps the process calm and tidy.
Start with a 20 cm round cake tin. This is the standard size to help the sponge bake evenly and keep its shape.
You will also need a large mixing bowl to hold all the ingredients without spilling. Choose one with high sides for easy stirring.
An electric hand mixer or a sturdy hand whisk is essential to beat the butter and sugar until light and creamy. Use a high-quality spatula to scrape down the sides so no batter is wasted.
Line the cake tin with baking parchment paper to prevent sticking and make removal smooth. A wire cooling rack is handy to let the bake cool evenly once it comes from the oven.
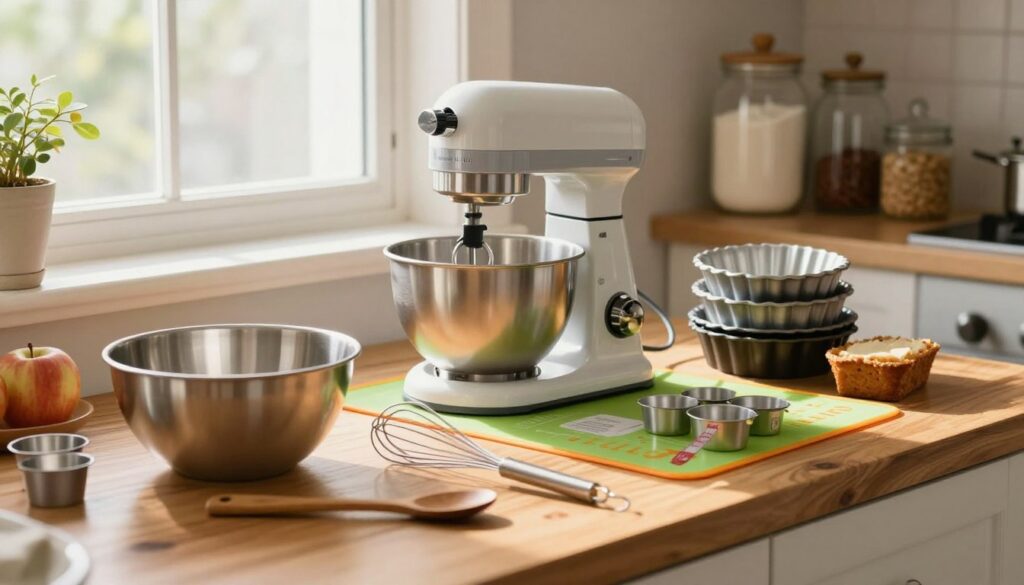
| Item | Purpose | Recommended type | Why it matters |
|---|---|---|---|
| 20 cm round cake tin | Holds batter | Loose-base or non-stick | Ensures even baking and neat shape |
| Mixing bowl | Combine ingredients | Large, heatproof | Prevents spill and allows thorough mixing |
| Electric hand mixer / hand whisk | Beat butter & sugar | Hand mixer or sturdy hand whisk | Creates a light, airy sponge |
| Spatula, parchment paper, cooling rack | Finish & cooling | Flexible spatula, baking paper, wire rack | Saves batter, prevents sticking, cools evenly |
Preparing Your Tin and Oven
Before you mix a spoonful of batter, make sure the oven and tin are ready so the sponge gets the best start.
Preheat oven to 180°C (160°C fan). This ensures a stable temperature before the batter goes in and helps the sponge rise evenly.
Grease and line a 20 cm round cake tin with baking parchment paper. The lining prevents sticking and makes removal simple after the 40–45 minutes of baking.
Check that the oven shelves are in the middle so hot air can circulate around the tin. Positioning avoids uneven browning and supports a level rise.
Final tip: complete these steps before you start mixing. If the batter can go straight into a warm oven, it keeps its aeration and gives a lighter, more reliable result.
The All In One Mixing Method
A quick, single-bowl routine gets all the main ingredients working together with minimal fuss. This approach keeps the process calm and helps you watch the sponge texture as you go.
Combining Ingredients
Place butter, caster sugar, eggs, self-raising flour, a pinch of baking powder, a splash of milk and vanilla into one bowl. Beat with a mixer or a hand whisk until the mixture is just combined and creamy.
Folding in Fruit
Gently fold the diced apples into the batter with a spatula. This avoids overmixing and keeps the fruit evenly spread through the cake mixture.
Levelling the Batter
Spoon the batter into the prepared cake tin and use a palette knife to level the surface for an even rise. Arrange remaining apple slices on top and sprinkle with cinnamon if you like extra flavour.
Bake for 40–45 minutes until golden brown; a skewer should come out clean from the centre.
- Tip: avoid overbeating to keep the sponge light.
- Timing: check at 40 minutes for a golden top.
Tips for Achieving the Perfect Texture
Small technique changes make a huge difference to the final texture of your sponge.
Mix only until just combined. Overworking the batter develops gluten and gives a dense result. Stop as soon as no streaks of flour remain.
Use room-temperature butter so it blends smoothly with sugar and eggs. This gives a lighter crumb and a more consistent rise.
Cut fruit into small, uniform pieces so they bake evenly. Larger chunks can sink and make the centre soggy.
Level the batter in the tin before it goes into the oven. A flat surface helps the sponge rise uniformly without peaks or dips.
Avoid overbaking: check the bake early. Remove it as soon as a skewer comes out clean to keep the edges moist.
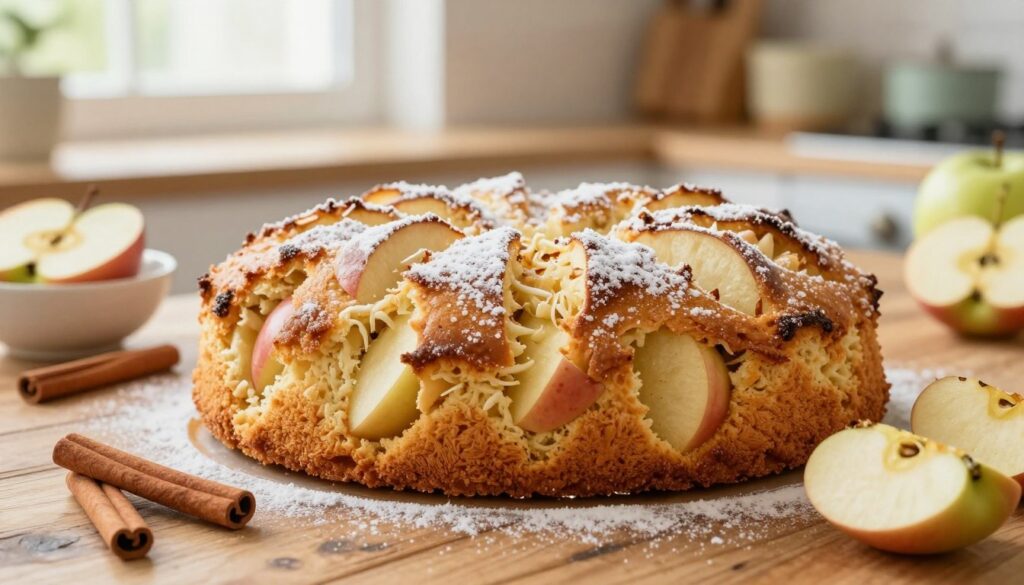
“Gentle handling and accurate timing are the easiest ways to improve every bake.”
Creative Variations to Try
A simple change to the topping can turn a humble traybake into a showstopping tea-time centrepiece.
Adding Spices and Toppings
Try a teaspoon of ground cinnamon folded into the batter to create a warm apple-cinnamon swirl. This is ideal for autumn and adds depth of flavour.
Swap fruit for pears when you want a gentler, juicier profile. Pears keep the sponge moist and pair well with light brown sugar.
- Arrange thin apple slices on top of the batter before baking for a neat, professional look.
- Sprinkle chopped walnuts or mixed nuts over the top to add crunch that contrasts with the soft slices.
- Use light brown sugar instead of caster sugar for a caramel-like note that deepens the overall flavour.
| Variation | What to change | Result |
|---|---|---|
| Spice twist | + 1 tsp cinnamon | Warm, autumnal flavour |
| Pear swap | Replace apples with pears | Milder, juicier crumb |
| Decorative top | Arrange thin slices on top | Professional sliced finish |
| Nut crunch | Chopped walnuts on top | Textural contrast |
| Browner sweet | Use light brown sugar | Caramel depth |
Serving Suggestions for Your Apple Cake
A warm slice served with a pour of hot custard brings out the dessert’s cozy spices and soft fruit.
For a cool contrast, add a generous dollop of freshly whipped cream. The lightness cuts through the dense, spiced crumb.
Try a scoop of vanilla ice cream for a restaurant-style finish. It melts slowly into the warm sponge for a rich mouthful.
For something fresher, a spoonful of Greek yoghurt balances the sweetness and feels lighter on the plate.
A hot cup of tea is the traditional British pairing and completes this simple, comforting treat.
| Serving | Accompaniment | Texture contrast |
|---|---|---|
| Classic | Hot custard | Silky sauce with warm sponge |
| Light | Greek yoghurt | Fresh, tangy balance |
| Indulgent | Vanilla ice cream | Creamy cold meets warm crumb |
| Afternoon | Whipped cream & tea | Airy cream with hot brew |
For variations and more recipes to try, explore different toppings that suit your taste.
Storing and Freezing Your Bake
Proper storage keeps your slices soft and ready to serve without extra fuss. Follow a few simple rules to preserve texture and flavour.
Room Temperature Storage
Once cool, place the sponge in an airtight container. It will keep well at room temperature for up to two days.
If you plan to serve the next day, leave the cake at room temperature so the crumb stays tender. For a slightly longer life, refrigerate, but bring to room temperature before serving for best texture.
Freezing for Later
For longer storage wrap individual slices tightly in plastic wrap or foil. Pop them into a labelled bag and freeze for up to two months.
Thaw frozen slices gently at room temperature for a few hours. Avoid overheating in the microwave: brief bursts only, or warm in a low oven from a tin to keep moisture in the batter.
- Quick tip: split large bakes into portions before freezing to save time.
- Serve idea: a small dollop of cream lifts thawed slices nicely.
Conclusion
,Few recipes offer the same mix of ease and dependable flavour for busy home bakers.
This mary berry apple cake is simple to prep and rewarding to serve. Follow the all-in-one method, preheat the oven and line the tin to get a golden brown finish every time.
Use measured ingredients like flour, sugar, eggs and baking powder and beat the mixture in one bowl. Bake for the stated minutes until a skewer comes out clean and the sponge feels springy.
Serve warm with cream or enjoy plain with a cup of tea. Store slices airtight or freeze wrapped to keep the sponge soft for another day.
FAQ
What is the simplest way to prepare the all-in-one sponge?
Which apples work best for baking a moist sponge?
How should I prepare the tin and oven?
Can I use self-raising flour instead of plain flour?
How do I arrange apple slices on top so they look attractive?
My cake sinks in the middle — what went wrong?
How long should the sponge cool before slicing?
Can I add spices or other flavours to the basic batter?
Is it possible to freeze the cake, and how should I do it?
What are the best serving suggestions for this sponge?
Mary Berry All In One Apple Cake
This classic British bake brings comfort to the table with minimal fuss. The recipe uses an all-in-one method so you stir primary ingredients in a single bowl and get a soft, moist result that suits busy days.
Ingredients
- 175g unsalted butter, softened
- 175g caster sugar
- 175g self-raising flour
- 3 large eggs
- 1 tsp baking powder
- 1 tsp vanilla extract
- 2 medium apples, peeled, cored and diced
Method
- Preheat the oven to 180°C (160°C fan) and grease and line a 20 cm round cake tin with baking parchment paper.
- In a large mixing bowl, combine the softened butter, caster sugar, eggs, self-raising flour, baking powder, and vanilla extract.
- Beat the mixture with an electric hand mixer or hand whisk until just combined and creamy.
- Gently fold in the diced apples with a spatula to avoid overmixing.
- Spoon the batter into the prepared cake tin and level the surface with a palette knife.
- Arrange any remaining apple slices on top and sprinkle with cinnamon if desired.
- Bake in the preheated oven for 40-45 minutes until golden brown and a skewer inserted into the center comes out clean.
- Allow the cake to cool in the tin for 10-15 minutes before transferring it to a wire rack to cool completely.