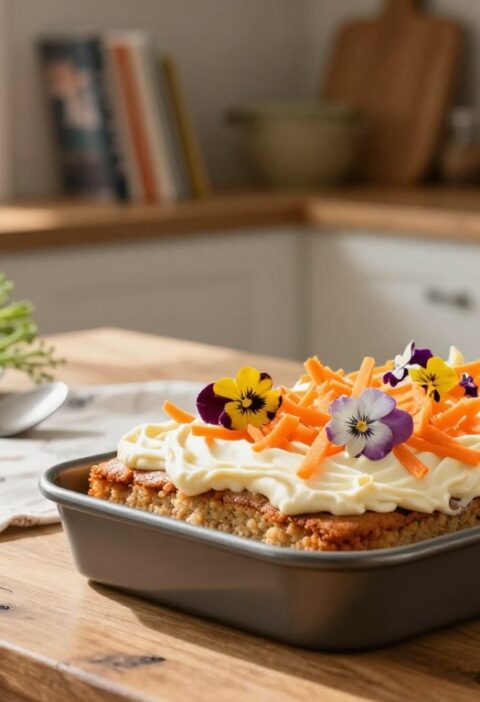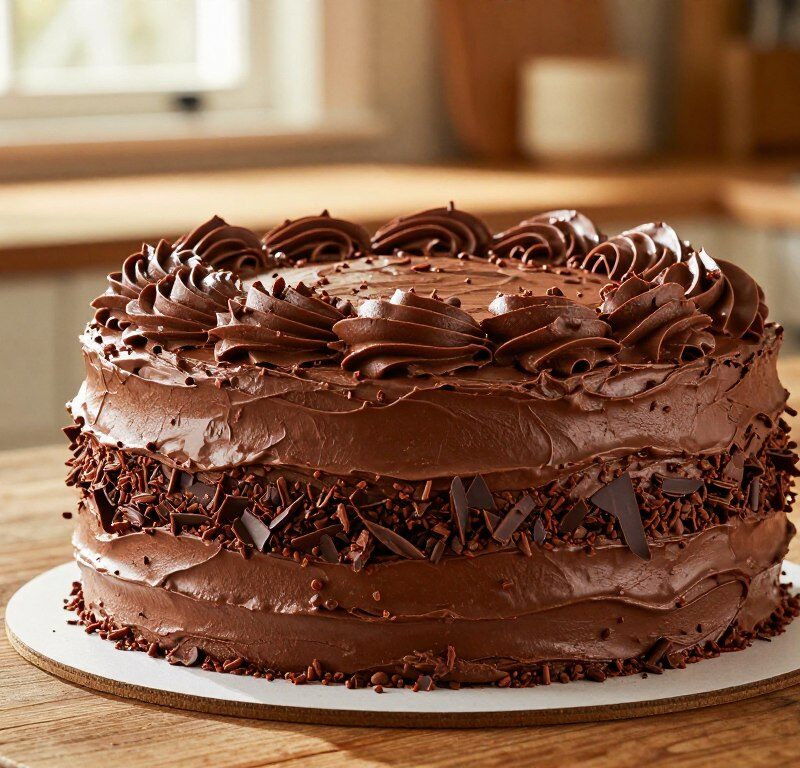
This classic British bake pairs soft sponge layers with a rich, spreadable frosting for an elegant finish. It brings bakery-style results at home and is ideal for afternoon tea or family celebrations.
The recipe is designed for reliable success in roughly one hour, from mixing to the final touch on top. The method focuses on a tender crumb and a smooth icing, so each slice keeps the perfect sponge-to-frosting balance.
Whether you are learning basic baking skills or refining a favourite, these techniques help you create consistent, impressive cakes. For another classic treat, try the Mary Berry coconut recipe for variety in your repertoire.
Key Takeaways
- Reliable method: delivers consistent, bakery-style results.
- Perfect for gatherings: ideal for afternoon tea and celebrations.
- Balanced texture: soft sponge with smooth, spreadable icing.
- Quick to make: around one hour from start to finish.
- Skill-building: techniques suit beginners and confident home bakers alike.
Why You Will Love This Mary Berry Chocolate Buttercream Cake
What makes this version stand out is how it marries indulgent flavour with a surprisingly delicate crumb. The result is a rich yet restrained treat that never feels heavy on the palate.
Versatility is a key benefit. Beginners can follow the straightforward method, while seasoned bakers will value the reliable texture for celebration bakes.
“A moist sponge with balanced cocoa notes and a light finish is perfect for a refined afternoon tea.”
- Light, airy sponge rather than dense chocolate fudge.
- Chocolate buttercream adds moisture without weighing the layers down.
- Berry chocolate hints lift the cocoa tones for a subtle fruit edge.
- Consistent results make it one of the best cake recipes for family gatherings.
| Feature | Benefit | Ideal for |
|---|---|---|
| Light sponge | Soft, even crumb | Layered celebration cakes |
| Balanced frosting | Moisture and flavour | Afternoon tea and parties |
| Simple method | Reliable every time | Beginners and busy bakers |
Essential Ingredients for Your Sponge and Frosting
Start with precise weights and room-temperature items to ensure an even rise and smooth icing. Lay out dry and wet components in separate bowls before you begin.
Dry Ingredients
For the sponge, measure 175g self-raising flour, 1 tsp baking powder, and 2 tbsp cocoa powder. Add 175g caster sugar to the bowl with the flour.
Wet Ingredients
Place 175g softened unsalted butter and 3 large eggs at room temperature into a large bowl. Stir in 2 tbsp milk when combining the batter.
- Frosting base: 400g sifted icing sugar and 200g softened butter create a smooth chocolate buttercream foundation.
- Add 3 tbsp cocoa powder to the icing for depth, and 2–3 tbsp milk to reach the right consistency.
- Use a splash of boiling water to bloom the cocoa if you want a stronger chocolate profile.
- Always choose high-quality butter and sugar; they shape texture and flavour in the sponge.
| Component | Quantity | Purpose |
|---|---|---|
| Softened unsalted butter | 175g (sponge), 200g (frosting) | Moisture, structure, and creamy icing |
| Self-raising flour | 175g | Light sponge texture |
| Cocoa powder | 2 tbsp (sponge), 3 tbsp (frosting) | Colour and rich chocolate flavour |
Recommended Baking Equipment
A small investment in reliable kit transforms your home bakes. Good tools speed up the process and reduce stress. They also help you deliver neat, even results for celebration cakes.
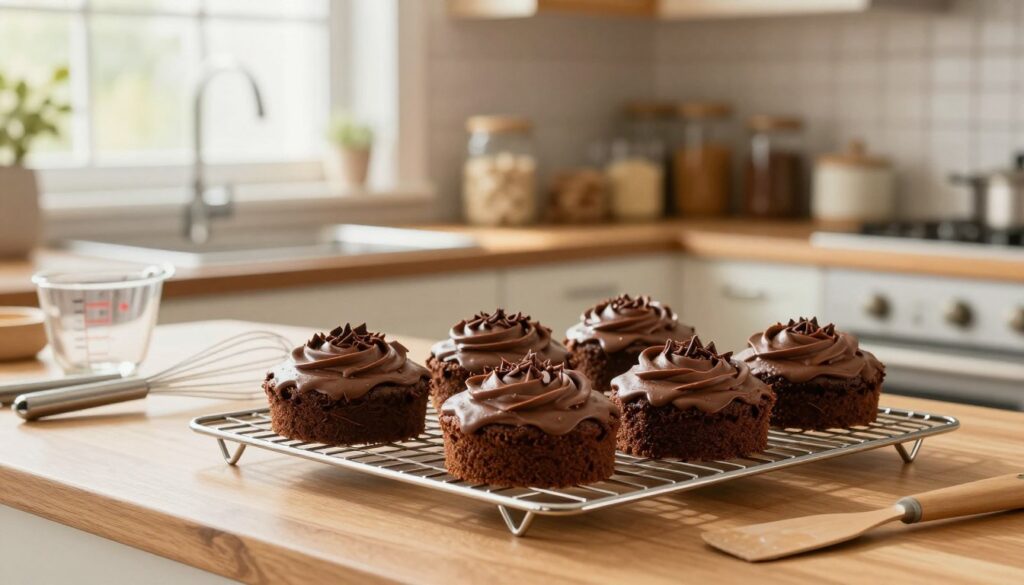
Start with two 20 cm round sandwich tins. Grease and line each tin with high-quality baking paper so the sponge releases cleanly.
Use a reliable electric mixer to cream butter and sugar quickly. A spatula helps you fold ingredients and scrape the bowl.
- Wire rack: transfer sponges to a wire rack to cool completely. Good airflow prevents a soggy base.
- Palette knife: essential for smoothing the buttercream and achieving sharp layer edges.
- Knife or small spatula: keep one handy to ease the sponge from the tin if it sticks.
| Tool | Why it matters | Tip |
|---|---|---|
| 20 cm tin | Ensures even rise | Line with parchment paper |
| Electric mixer | Consistent creaming | Use a medium speed |
| Wire rack | Proper cooling | Place on a flat surface |
Preparing the Perfect Chocolate Batter
Get organised: preheat the oven to 180°C (160°C fan) and weigh each ingredient to create a light, even sponge. Gather a large mixing bowl, your tin and scales before you start.
The Blooming Technique
Blooming cocoa powder intensifies flavour. Stir the cocoa powder with a small amount of boiling water to make a glossy paste. Set it aside while you work on the batter.
Cream 175g butter and 175g caster sugar in a large bowl. Beat for at least 5 minutes until the mix looks pale and airy.
- Add 3 large eggs one at a time, mixing well after each addition.
- Fold in 175g flour and 1 tsp baking powder gently to keep air in the mixture.
- Stir the bloomed cocoa into the batter and add 2 tbsp milk for a dropping consistency.
Use a fan oven at 160°C to help the sponge rise evenly. This mary berry method mirrors the approach in many classic cake recipes and gives a rich, delicious chocolate result reminiscent of a chocolate fudge loaf.
| Step | Key action | Tip |
|---|---|---|
| Creaming | Beat butter and sugar 5 minutes | Use medium speed for pale, fluffy mix |
| Blooming | Mix cocoa with boiling water | Creates deeper chocolate flavour |
| Folding | Add flour and baking powder | Fold gently to keep batter light |
Baking and Cooling Your Sponge Layers
Set the tins in the centre of the preheated oven and bake for 20–25 minutes at 180°C (160°C fan). The sponges should turn a warm, even brown and feel springy when pressed gently.
Use a skewer in the centre of each layer; it should come out clean. If using a fan oven, check after 20 minutes to avoid overbaking and dry results.
Leave the sponges in the tin for about 5 minutes, then turn them out onto a wire rack to cool completely. Cooling on a wire rack allows air to circulate under and around the layers.
Remove the baking paper carefully from the base to avoid tearing the delicate surface of your berry chocolate layers. If you are making multiple cakes, space them so the wire rack can cool each layer evenly.
- Timing: 20–25 minutes baking, 5 minutes resting in the tin.
- Doneness test: skewer should be clean from the centre.
- Cooling: cool completely before you spread any icing to prevent slipping or melting.
Proper baking and cooling form the foundation of a superb mary berry chocolate buttercream assembly. For a related method that speeds up prep, see this all-in-one approach: all-in-one chocolate recipe.
Creating Smooth Chocolate Buttercream
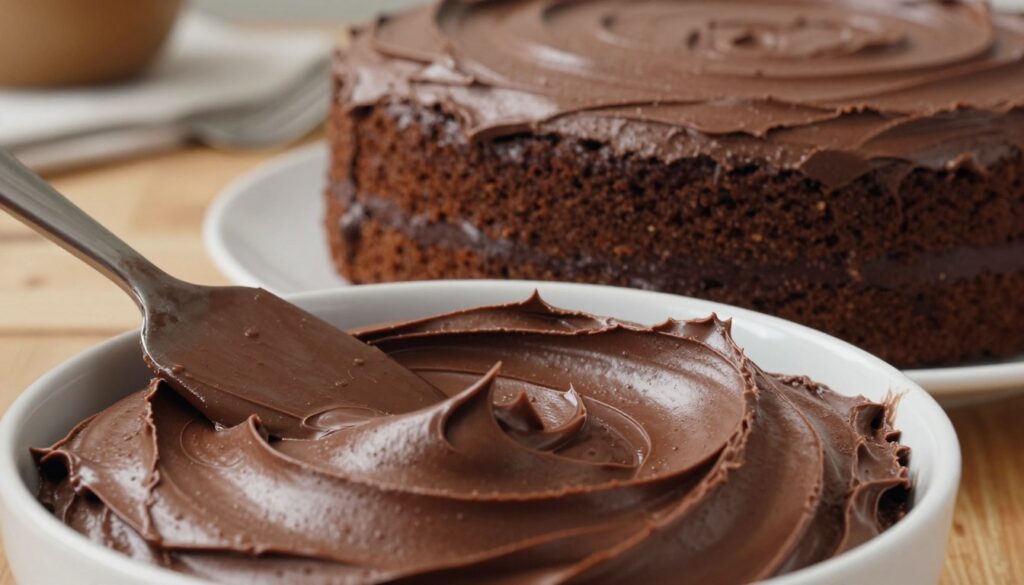
A silky, spreadable frosting begins with perfectly creamed butter and careful sifting of dry ingredients. This step makes the difference between a grainy topping and a glossy finish. Keep your workspace tidy and use a wide bowl to help the process.
Achieving the Right Consistency
Beat 200g of softened butter in a large bowl until pale and creamy. Add the dry mix slowly to keep air in the mixture.
Stir in 2–3 tbsp milk to loosen the icing so it spreads easily. If it feels too stiff, add one teaspoon of milk at a time. Avoid adding too much or the frosting will be runny and hard to pipe.
Sifting for Smoothness
Sift 400g of icing sugar and 3 tbsp cocoa powder to remove lumps. This non-negotiable step ensures a smooth, light icing on top of your layers.
Gradually fold the sifted powder into the creamed butter. Mix slowly until the chocolate buttercream is even and glossy. The result should glide over the sponge and hold its shape between layers.
“Sifting and gentle mixing give a velvety texture that lifts a simple bake to a showstopper.”
Assembling and Decorating Your Masterpiece
Begin by placing one sponge on a flat serving plate so you can build neat layers with confidence.
Spread a generous layer of chocolate buttercream across the base sponge. Keep the layer even so each slice has the same balance of sponge and icing.
Carefully lower the second sponge on top, aligning the edges to form a tidy cake. A cold surface helps prevent slipping.
- Use a clean palette knife to smooth the remaining icing over the sides and the top.
- Create decorative swirls on the top to add a professional, finished look.
- For texture, scatter chocolate shavings or fresh berries on the final layer of icing.
Tip: Ensure both sponges are fully cold. Warm layers will make the frosting slide and ruin your finish.
Enjoy the moment — assembly is the most rewarding part when your mary berry chocolate creation comes together. A neat finish can rival a chocolate fudge patisserie bake and makes the bake feel truly celebrated.
Expert Tips for Success
Simple habits—like weighing batter and steady temperatures—turn trial-and-error into repeatable success. These practical tips help you produce even layers and a reliable finish every time.
Ensuring Even Layers
Weigh your batter into each tin so layers bake to the same height. This promotes even cooking and a neat stack at the top.
Use a skewer to test the centre for doneness and cool sponges on a wire rack until they cool completely.
Temperature Control
Keep butter at room temperature for easy creaming. Consistent oven heat prevents doming and crumb collapse.
For richer flavour, bloom your cocoa powder with boiling water before adding it to the mixture.
Storage Advice
Store the assembled cake in an airtight container at room temperature for up to two days. Refrigerate for up to four days to extend freshness.
If freezing, wrap sponge tightly in paper and foil, or place on a wire rack to cool completely before packing.
- Tip: a teaspoon of baking powder with 175g flour gives a light sponge.
- Tip: make the sponge a day ahead for a calm afternoon tea prep.
| Issue | Quick fix | Benefit |
|---|---|---|
| Uneven layers | Weigh batter | Professional finish |
| Runny icing | Chill briefly, then rewhip | Smoother spread |
| Dry sponge | Cover tightly | Retains moisture |
Conclusion
This mary berry recipe is a timeless way to turn plain pantry items into a rich, home-baked delight. The combination of reliable technique and quality ingredients gives a moist sponge and a smooth chocolate finish every time.
Follow the simple steps, weigh your ingredients and allow the layers to cool. In around 60 minutes you can have a professional-looking cake with a glossy top. A final dusting of icing sugar lifts the look and adds a delicate touch.
Whether you bake for birthdays, tea or small gatherings, this method helps you make consistent cakes. Enjoy the process, share a slice, and let friends taste your berry chocolate success.
FAQ
What size tins should I use for this recipe?
Can I substitute cocoa powder with melted chocolate?
How do I bloom cocoa or chocolate for the batter?
What is the best way to achieve a smooth buttercream?
How long should the cakes cool before icing?
Can I make the sponges and buttercream ahead of time?
How do I ensure even layers when assembling?
What oven temperature and time work best for a moist sponge?
How should I store the finished cake?
Can I add a chocolate fudge glaze or decorations?
Is it possible to make this recipe gluten-free?
Why might my buttercream be grainy and how do I fix it?
How many portions does this cake yield?
Mary Berry Chocolate Buttercream Cake
This classic British bake pairs soft sponge layers with a rich, spreadable frosting for an elegant finish, ideal for afternoon tea or family celebrations.
Ingredients
- 175g self-raising flour
- 1 tsp baking powder
- 2 tbsp cocoa powder (for sponge)
- 175g caster sugar
- 175g softened unsalted butter (for sponge)
- 3 large eggs
- 2 tbsp milk (for sponge)
- 400g sifted icing sugar
- 200g softened butter (for frosting)
- 3 tbsp cocoa powder (for frosting)
- 2-3 tbsp milk (for frosting)
Method
- Preheat the oven to 180°C (160°C fan).
- In a large bowl, cream 175g of softened butter and 175g of caster sugar for at least 5 minutes until pale and airy.
- Add 3 large eggs one at a time, mixing well after each addition.
- Fold in 175g of self-raising flour and 1 tsp of baking powder gently to keep air in the mixture.
- Bloom 2 tbsp of cocoa powder with a small amount of boiling water, then stir it into the batter along with 2 tbsp of milk.
- Divide the batter evenly between two 20 cm round sandwich tins lined with baking paper.
- Bake for 20-25 minutes, until the sponges feel springy and a skewer comes out clean.
- Let the sponges cool in the tins for about 5 minutes, then turn them out onto a wire rack to cool completely.
- For the frosting, beat 200g of softened butter until pale and creamy.
- Sift 400g of icing sugar and 3 tbsp of cocoa powder, then gradually fold into the creamed butter.
- Add 2-3 tbsp of milk to achieve a smooth, spreadable consistency.
- Once the sponges are completely cool, place one sponge on a serving plate and spread a generous layer of chocolate buttercream on top.
- Carefully place the second sponge on top and smooth the remaining icing over the sides and top.
- Decorate with chocolate shavings or fresh berries if desired.