Discover a classic brought to life. This approachable introduction explains how the mary berry red approach turns a simple bake into something special.
The treat is a softer, moister take on a beloved red velvet cake. It makes an excellent centrepiece for afternoon tea or a small celebration.
Easy steps and careful technique give the berry red velvet its vivid colour and balanced taste. Follow the method to achieve light, fluffy results every time.
Whether you are a new baker or seeking to refine a signature velvet cake, this recipe guides you to a reliable showstopper.
Key Takeaways
- The recipe creates soft, moist red velvet cupcakes ideal for gatherings.
- The mary berry red method focuses on consistent texture and colour.
- This classic dessert suits afternoon tea and small parties.
- Simple technique yields light, fluffy results for home bakers.
- Follow the steps to master a standout velvet cake for any table.
The Appeal of Mary Berry Red Velvet Cupcakes
These little cakes win hearts because they turn a classic flavour into neat, shareable portions. Perfect for parties, they give guests a ready-sized treat without slicing or fuss.
The recipe balances a mild cocoa note with the tang of smooth cream cheese frosting. This harmony of taste is why the mary berry red approach feels both familiar and special.
Lightness comes from buttermilk and a dash of white vinegar, which help create an airy crumb. The result is a soft velvet cake that feels indulgent yet not heavy.
Visually striking and reliably simple to bake, these velvet cupcakes decorate a table beautifully. Home bakers praise the foolproof steps that deliver consistent results.
| Feature | Why it matters | Result |
|---|---|---|
| Portion size | Easy to share | Great for parties |
| Texture | Buttermilk + vinegar | Light and fluffy |
| Frosting | Cream cheese balance | Smooth, tangy finish |
- Ideal small portions for sharing
- Balanced cocoa and cream notes
- Easy, dependable recipe for bakers
Essential Ingredients for Your Baking
Before you heat the oven, assemble the essentials that create texture and flavour. A tidy mise en place helps you move quickly and avoid overmixing the batter.
Dry Ingredients
Sift 125g plain flour into a large bowl. Add the cocoa powder and bicarbonate soda, then whisk to combine. Sifting prevents lumps and gives a lighter crumb.
- 125g plain flour — sifted
- tbsp cocoa powder — for that subtle chocolate note
- tsp bicarbonate or bicarbonate soda — helps the rise
- icing sugar for the frosting (listed later)
Wet Ingredients
Cream 100g caster sugar with 60g butter until pale and fluffy. Then add 100ml buttermilk, 50ml vegetable oil and 1 tsp vanilla to the bowl.
Stir in 1 tsp white vinegar and 1 tsp of red gel food colouring to get the signature hue without thinning the mixture. Use a piping bag and line your 12-hole cupcake tin with paper cases for neat portioning.
“Accurate measures and quality ingredients make a dependable velvet cake every time.”
Preparing the Perfect Batter
Start by preheating to 180°C (160°C fan) and prepare a 12-hole tin with paper cases so the bake goes smoothly.
In a large bowl, sift the plain flour, tbsp cocoa and bicarbonate soda together. This keeps the cocoa powder lump-free and gives a fine crumb for the red velvet cake.
Beat the butter and sugar until pale and airy. Add the egg, oil, 1 tsp vanilla and the red food colouring or gel, then mix until combined.
Gently fold the dry mixture into the wet ingredients. Use a spatula and stop when the batter looks even — overmixing will make the cupcakes heavy.
Spoon the mixture into the paper cases, filling each two-thirds full. Bake for 18–20 minutes until the tops spring back when lightly pressed.

| Step | Action | Why it matters |
|---|---|---|
| Preheat | 180°C (160°C fan) | Ensures even rise and bake time |
| Sift | Plain flour + cocoa powder + bicarbonate soda | Removes lumps for light crumb |
| Mix wet | Butter, sugar, egg, oil, 1 tsp vanilla, red food colouring | Creates smooth, coloured batter |
| Fold & bake | Fill 2/3, bake 18–20 minutes | Prevents dense cake; proper doneness |
Remove the tray and transfer cakes to a wire rack to cool completely before frosting.
Baking Techniques for Moist Cupcakes
Perfectly moist results come from checking at the right moment and gentle cooling. These steps protect the crumb and keep the flavour bright.
Testing for Doneness
At 18 minutes insert a skewer into the centre to test the bake. If it comes out clean, the red velvet cupcakes are ready to leave the oven.
Avoid overbaking. Even a few extra minutes can dry the cake, so set a timer and watch closely during the final minutes.
Use a high-quality gel food colouring for vivid hue without extra moisture. This gel gives strong colouring while preserving the tender crumb.
Let the bakes cool in the tray for 5 minutes. Then transfer them to a wire rack to cool completely before adding cream frosting.
| Technique | Timing | Why it matters |
|---|---|---|
| Skewer test | At 18 minutes | Ensures correct doneness without overbaking |
| Short tray rest | 5 minutes | Makes removal safer; prevents collapse |
| Gel colouring | Added with wet mix | Strong colour; no extra liquid |
| Buttermilk + vinegar | In batter | Creates a soft, tender crumb |
Creating the Signature Cream Cheese Frosting
Make the cream cheese icing in one bowl for quick, consistent results.
Begin by beating 75g softened butter until creamy. Then add 150g full-fat cream cheese and 1 tsp vanilla. Keep the butter and cream at room temperature to avoid lumps and get a smooth mixture.
Slowly sift and fold in 150g icing sugar, a little at a time. Beat until the frosting is light, fluffy and firm enough to pipe. If it feels too soft, chill for 15–20 minutes in the fridge to reach the right temperature for piping.
- Tip: Use a clean bowl and paddle for an even texture.
- Tip: If needed, add 1 tsp more icing sugar to stiffen the mixture.
- Tip: Pipe with a wide star nozzle for classic swirls.
This cream cheese frosting gives a tangy counterpoint to the cocoa sponge and finishes each cupcake like a professional bake.
Professional Decorating Ideas
Small changes in piping and garnish can transform a homemade cake into a showpiece. Start with a brief plan: decide on a style, gather a piping bag, a star nozzle and any sprinkles or chocolate you will use.

Piping Techniques
Use a star nozzle on your piping bag to create neat, bakery-style swirls of cream cheese icing. Hold the bag at a 90° angle and pipe from the outer edge in a circular motion toward the centre.
Tip: Chill the icing briefly if it seems soft. Cooler icing keeps its shape when piping.
Adding Texture
For contrast, sprinkle fine cake crumbs or mini chocolate pieces over the swirls. These add bite and make the surface more interesting to the eye and palate.
Paper liners can also be trimmed or swapped for patterned cases to give added texture at the base of each portion.
Finishing Touches
A thin drizzle of melted white chocolate offers a glossy finish and a touch of extra sweetness. Seasonal sprinkles, like tiny hearts, suit special occasions.
Always ensure the cupcakes are fully cool before decorating. Heat will make the icing slide and ruin the look of your bake.
“A careful finish turns good baking into a memorable dessert.”
Storage and Freezing Advice
Store finished cupcakes in an airtight container in the fridge for up to 3 days. This keeps the icing from drying and preserves the soft crumb of the cake.
If you plan to freeze sponges, wrap each uniced sponge in two layers of kitchen foil. Place a circle of baking paper between cakes so they won’t stick together. Frozen sponges keep well for up to 2 months.
When ready to serve, thaw in the fridge then bring to room temperature for about 60 minutes so the cream and butter in the frosting soften. This restores the ideal texture and flavour.
To refresh a chilled portion, warm for 5–8 minutes in short bursts in the microwave (5–8 seconds each), but take care not to overheat — the sugar and butter in the icing can break down quickly.
Tip: Transport decorated velvet cupcakes in a box with a low lid. Use a piping bag to repipe small defects and a thin spread of extra icing to cover any marks after thawing.
Good wrapping and sensible thawing save you time and keep each cake tasting as if it was freshly baked.
Customising Your Recipe
Small swaps to ingredients let you adapt the flavour and hue of this classic sponge for any occasion.
Natural Colouring Alternatives
Beetroot powder is a great natural option to replace red food colouring. It lends a warm tint without artificial additives and keeps the crumb tender.
For a subtler tint, try frozen raspberry purée mixed into the wet bowl before adding dry ingredients. It adds colour and a fresh berry note.
- Swap cream cheese for mascarpone for a richer, silkier icing that still pipes well.
- Replace half the icing sugar with honey or coconut sugar to tone down sweetness and add depth.
- Make a quick buttermilk: mix 100ml milk with 1 tsp lemon juice and leave for 10 minutes before use.
- Top with fresh strawberries or a drizzle of dark chocolate to enhance the cocoa and add texture.
“Small ingredient changes can transform the cake’s colour, flavour and finish while keeping the method familiar.”
Conclusion
This recipe brings together simple steps and quality ingredients to deliver a memorable finish. Follow the method and you will achieve soft, moist cupcakes with a tender crumb and balanced flavour.
Use good gel food colouring and full-fat cream to get that signature look and taste. Gentle folding, correct temperature and checking at the right time keep the crumb light and moist.
Note: whether you are a beginner or more practiced, these small cakes let you practice piping and try new toppings. Enjoy sharing this easy, reliable recipe with friends and family.
FAQ
What makes this recipe’s sponge different from a standard chocolate cake?
Which dry ingredients should I sieve together?
Can I replace vegetable oil with butter in the wet ingredients?
How do I test cupcakes for doneness without overbaking?
What is the simplest way to make cream cheese icing smooth?
How can I pipe neat swirls without a pastry bag?
What are good ways to add texture to the top of each cake?
How long can I store unfrosted cakes and cupcakes in the fridge or freezer?
Can I freeze decorated cupcakes?
How can I reduce or avoid artificial red food colouring?
Will using gel colouring change the batter’s texture?
Are there easy flavour swaps to make the recipe less sweet?
What oven temperature and time work best for standard paper cases?
How important is room temperature for ingredients like eggs and dairy?
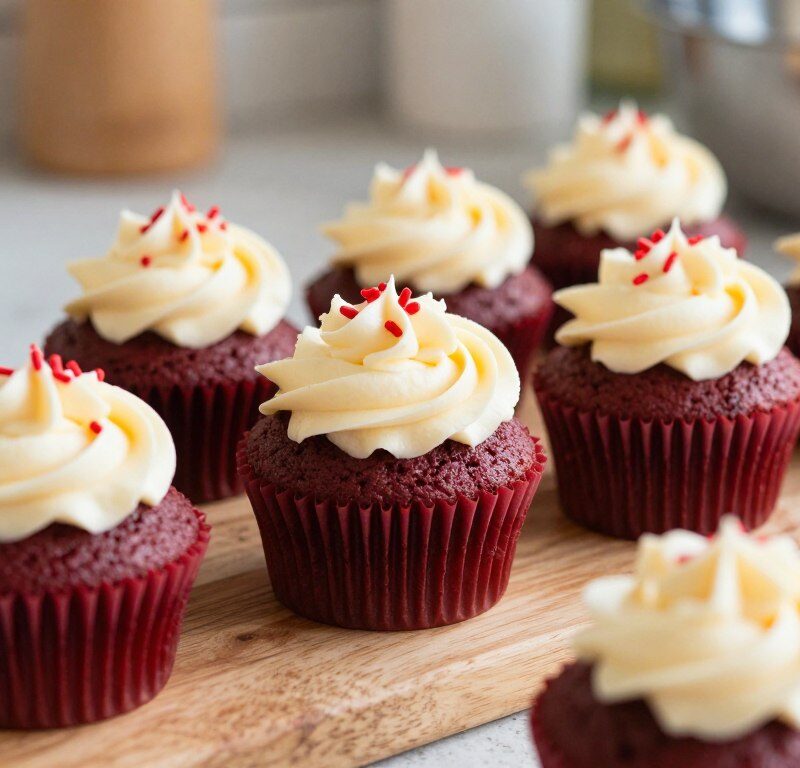
Mary Berry Red Velvet Cupcakes
A softer, moister take on a beloved red velvet cake, perfect for afternoon tea or small celebrations.
Ingredients
- 125g plain flour, sifted
- 1 tbsp cocoa powder
- 1 tsp bicarbonate of soda
- 100g caster sugar
- 60g butter, softened
- 1 egg
- 100ml buttermilk
- 50ml vegetable oil
- 1 tsp vanilla extract
- 1 tsp white vinegar
- 1 tsp red gel food colouring
- 150g full-fat cream cheese
- 75g softened butter for frosting
- 150g icing sugar for frosting
Method
- Preheat the oven to 180°C (160°C fan) and prepare a 12-hole cupcake tin with paper cases.
- In a large bowl, sift together the plain flour, cocoa powder, and bicarbonate of soda.
- In another bowl, cream the butter and caster sugar until pale and fluffy.
- Add the egg, buttermilk, vegetable oil, vanilla extract, and red food colouring to the butter mixture and mix until combined.
- Stir in the white vinegar.
- Gently fold the dry ingredients into the wet mixture until just combined, being careful not to overmix.
- Spoon the batter into the prepared cupcake cases, filling each two-thirds full.
- Bake for 18-20 minutes, or until the tops spring back when lightly pressed.
- Remove from the oven and let cool in the tin for 5 minutes before transferring to a wire rack to cool completely.
- For the frosting, beat the softened butter until creamy, then add the cream cheese and vanilla, mixing until smooth.
- Gradually sift in the icing sugar, mixing until light and fluffy. If too soft, chill for 15-20 minutes.
- Once the cupcakes are completely cool, pipe the cream cheese frosting on top.