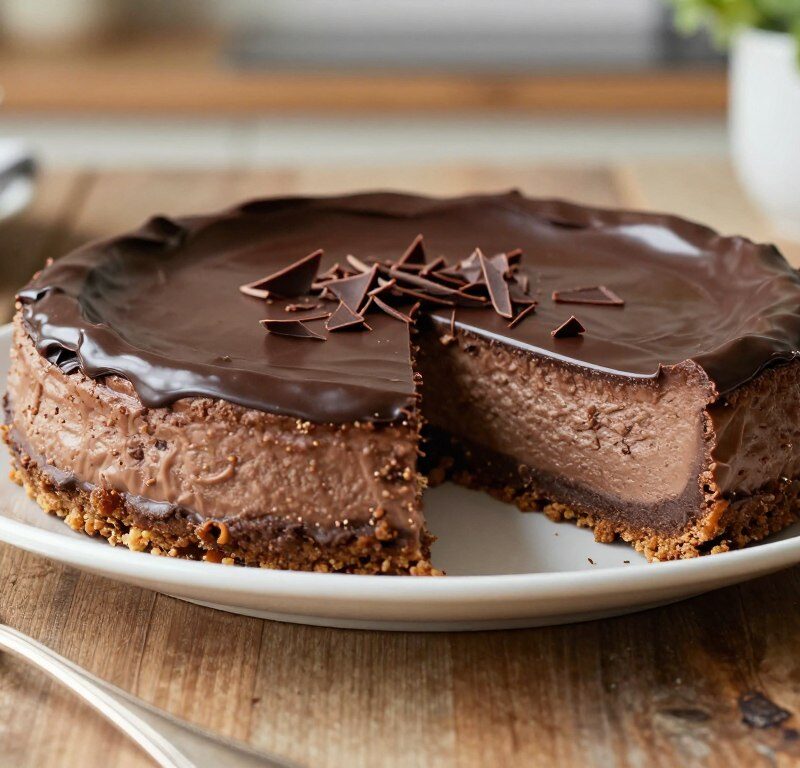
This classic, no-oven dessert shows how simple ingredients can deliver a show-stopping finish. The recipe uses 200g of digestive biscuits and 100g of melted butter to form a crisp base that contrasts beautifully with the silky filling.
The filling relies on full-fat cream cheese and high-quality dark chocolate, so it sets naturally in the fridge. Preparation takes around 25 minutes, making it ideal for busy family meals or for preparing ahead of time.
Mary Berry’s practical approach means even beginners can achieve a professional-looking slice. Follow clear steps and simple tips to ensure a firm set and a smooth, silky finish.
Expect a light yet indulgent texture that pairs well with fresh berries or a dusting of cocoa. This guide will help you master the essentials for a perfect chocolate cheesecake every time.
Key Takeaways
- Quick to prepare—about 25 minutes active time.
- Simple biscuit and butter base provides a crisp contrast.
- Full-fat cream cheese and dark chocolate set in the fridge.
- Can be made ahead for stress-free entertaining.
- Beginner-friendly method inspired by mary berry’s practical style.
Why You Will Love This Mary Berry No Bake Chocolate Cheesecake
With a simple mix and a patient chill, the filling firms to a silky, sliceable texture that guests love. This recipe is built for ease and reliable results, so home bakers can feel confident every time.
The dessert sets beautifully in the fridge for up to 24 hours, making it perfect to prepare ahead of any event. Its oven-free method suits warm days or busy kitchens when you need a stress-free sweet.
“The method focuses on simplicity and consistent texture, so even beginners get a professional finish.”
- Make ahead: chills well for a day.
- Versatile: add a splash of coffee to deepen the chocolate notes.
- Clean slices: warm your knife for neat portions.
| Feature | Benefit | When to use |
|---|---|---|
| Fridge set | Firm yet soft texture | Prepare 24 hours ahead |
| Oven-free method | Quick, no heat required | Summer or busy cooking |
| Simple ingredients | Consistent, creamy result | Everyday and special occasions |
Essential Ingredients for Your Dessert
Careful ingredient choice is the foundation of a reliably set, silky dessert. Gather everything in a bowl before you start to speed the process and avoid mistakes. Use 200g of digestive biscuits and melted butter to form a crisp biscuit base that holds well when sliced.
Biscuit Selection
Select plain digestive or a similar tea biscuit. Crush them finely in a bowl so the base compacts evenly. Melt the butter completely before mixing to ensure the base binds and cuts cleanly.
Choosing Your Chocolate
For the filling, use 600g full-fat cream cheese, 75g sifted icing sugar and 300ml double cream. Melt high-quality dark chocolate separately and fold into the cream mixture in a bowl for a rich, balanced flavour.
“Measure everything and have it ready in your bowl — it makes the whole recipe smoother.”
- Fresh, cold double cream whips best.
- Sift the icing to avoid grit.
- Quality dark chocolate gives depth.
Equipment Needed for Success
The right tools make the technique simpler and the result more consistent.
A 20cm loose-bottomed tin is essential for this mary berry recipe. It gives the cheesecake the correct height and lets you release the sides cleanly for neat slices.
A sturdy mixing bowl is needed to combine cream, cream cheese and melted chocolate evenly. Use a heatproof bowl to melt dark chocolate over simmering water so it does not burn or seize.
An electric whisk is highly recommended to whip the double cream to soft peaks. This helps the filling stay light and airy.
Always let your melted chocolate cool slightly before adding it to the cream cheese. This prevents the mix from going grainy or separating.
- Use a reliable spatula to fold whipped cream into the chocolate gently.
- Keep all equipment clean and dry to avoid water causing dark chocolate to seize.
- Confirm your tin size so the cheesecake sets to the correct thickness for good presentation.
| Tool | Purpose | Tip |
|---|---|---|
| 20cm loose-bottomed tin | Ease of release | Pre-line base with baking paper |
| Heatproof bowl | Melt chocolate safely | Melt chocolate over simmering water |
| Electric whisk & spatula | Whip cream and fold | Whip to soft peaks; fold gently |
Preparing the Perfect Biscuit Base
Start by forming a compact biscuit layer so the filling has a reliable foundation. A neat base keeps slices tidy and prevents crumble when serving.
Achieving the Right Consistency
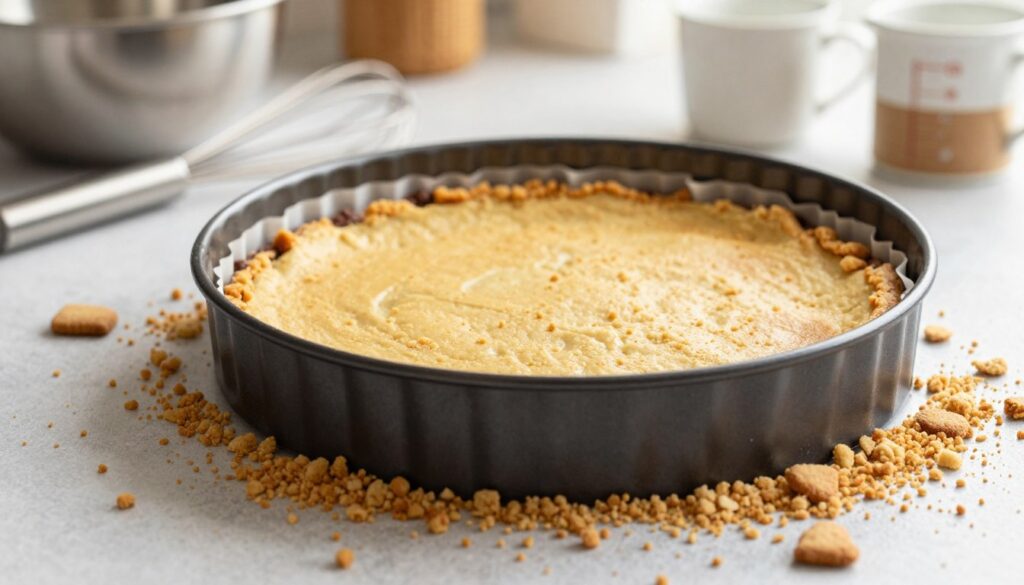
Mix crushed biscuits with melted butter until the texture looks like wet sand. This ensures every crumb is coated and the crisp biscuit base binds well.
Press the mixture firmly into a 20cm tin. Use the back of a spoon to level the surface and push to the edges for an even finish.
- Mix crushed biscuits and melted butter thoroughly to avoid dry patches.
- Press firmly across the base so it withstands the chocolate filling.
- Chill the base for 30 minutes so the butter sets and the structure firms up.
| Step | What to do | Result |
|---|---|---|
| Mixing | Combine crushed biscuits and melted butter until sandy | Even coating; no dry crumbs |
| Pressing | Press firmly into a 20cm tin using a spoon | Level, compact base that slices cleanly |
| Chilling | Refrigerate for 30 minutes before adding filling | Butter solidifies; firm foundation for cream and chocolate |
Creating the Silky Chocolate Filling
First, beat the 600g of full-fat cream cheese with sifted icing sugar until the mixture is completely smooth and free of lumps.
Gradually add the cooled, melted chocolate to the bowl, stirring constantly so the chocolate filling stays uniform and glossy. The temperature matters: the chocolate must be cool enough not to melt the cream cheese but still fluid enough to fold in easily.
Fold in a little full-fat cream to enrich the texture and to help the filling set firmly in the tin. Work gently so the mix keeps its airy structure.
Use a spatula to spoon the filling over the chilled biscuit base and to smooth the top for a professional, clean look.
- Beat cream cheese and icing until lump-free.
- Add melted chocolate slowly to avoid streaks.
- Ensure the biscuit base is fully set before adding the filling.
- Smooth the top with a spatula for neat slices.
Combining the Cream and Chocolate
Get the textures right and the filling will be light, smooth and easy to slice.
Whipping to Soft Peaks
Whip the 300ml of double cream in a clean bowl until it reaches soft peaks. The cream should hold its shape but remain soft enough to fold easily.
Folding Techniques
Use a large metal spoon or a silicone spatula to fold the whipped cream into the chocolate mixture. Work gently in wide arcs so you keep the air in the filling.
- Fold, don’t beat: stop when no white streaks remain.
- Use steady turns: this keeps the mixture airy and even.
Avoiding Grainy Textures
Always let the melted chocolate cool slightly before adding it to the cream cheese. If the chocolate is too hot it will seize and give a grainy texture.
“Cool the melted chocolate until warm, not hot, before folding.”
| Action | Tool | Result |
|---|---|---|
| Whip cream to soft peaks | Clean bowl & whisk | Light, stable filling |
| Fold whipped cream in | Silicone spatula or metal spoon | No deflation, even colour |
| Cool melted chocolate slightly | Heatproof bowl | Satin, non-grainy mixture |
Chilling for the Ideal Texture
Allowing the assembled cake to chill fully is the step that turns a soft mixture into a confident, sliceable dessert.
Leave the tin in the fridge for at least 4 hours, though overnight is best. During this time the fats in the cream and cheese firm up and the filling gains its signature, stable texture.
Do not release the cake from the tin until it has chilled for the full recommended time. Removing it too soon risks collapse and a soft centre.
Keep your fridge at a steady temperature so the set is even from top to base. Cover the tin to protect the biscuit base from absorbing any odours and to keep the top glossy.
“A patient chill is the final, essential step that turns a loose mixture into a professional-quality slice.”
- Chill a minimum of 4 hours; overnight develops flavour.
- Consistent fridge temperature ensures even setting through the depth of the tin.
- Wait until fully cold before removing for clean sides and neat slices.
Expert Tips for a Professional Finish
A few simple finishing steps will lift your dessert from homemade to patisserie-ready. These tips focus on clean slices, a stable base and a smart presentation.
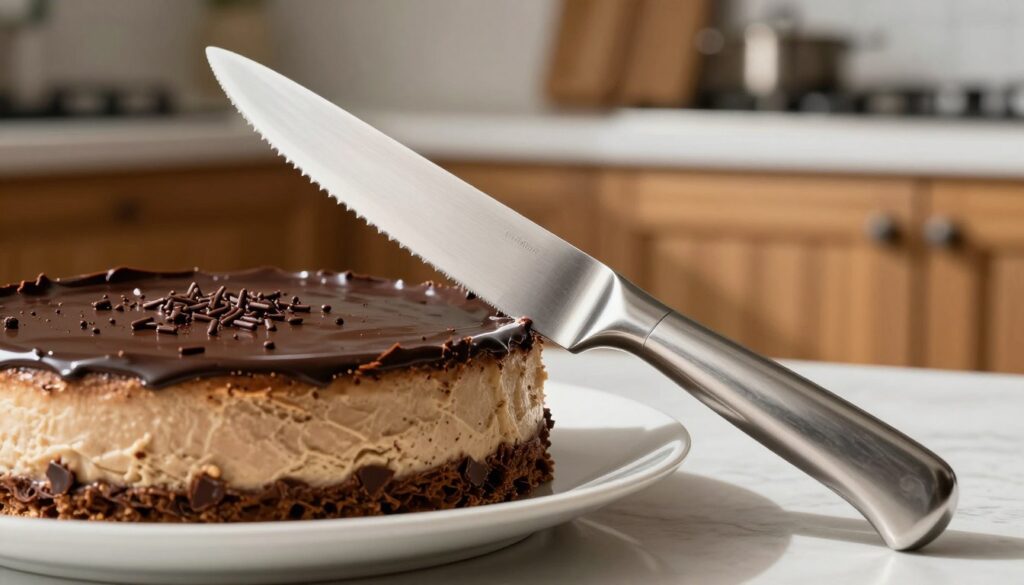
Dip a sharp knife into a jug of hot water, then wipe it dry before each cut. This warms the blade and helps it glide through the filling for neat portions.
Use a thin-bladed knife for the best control. If the cake is very cold, let it sit for 5 minutes at room temperature to avoid cracks.
- Press the biscuit base firmly into the tin to stop crumbling when you slice.
- Ensure the filling is fully set before you serve for clean, stable pieces.
- For a professional finish, dust the top with cocoa or add chocolate shavings just before serving.
- Handle the tin carefully when releasing so the edges remain sharp for presentation.
“A warm, clean blade is the secret to neat portions that look like they’re from a bakery.”
Creative Variations and Flavour Twists
Give the classic recipe a twist by replacing the biscuit base with crushed toasted hazelnuts or almonds. This adds a lovely nutty crunch and a warm aroma that pairs well with rich fillings.
Add a tablespoon of espresso to the melted chocolate for depth and a subtle bitter edge. The coffee brightens the cocoa notes and balances the sweetness.
For a lighter option, use reduced-fat cream cheese. It softens the richness, though the set may be a touch less firm than the full-fat version.
Swap dark for milk chocolate if you prefer a milder, sweeter finish. You can also fold in chopped nuts or a few chocolate chips for extra texture.
- Try different biscuits such as ginger nuts or chocolate-flavoured cookies for a unique base.
- Dust the top with cocoa or a little icing sugar to add contrast and improve presentation.
- Finish with a drizzle of raspberry coulis or fresh berries to cut through the richness.
“Small changes to the base or filling can make this recipe feel entirely new while keeping the method simple.”
How to Store Your Leftovers
Proper storage preserves the silky filling and the crisp base. Store slices in an airtight container in the fridge to stop the cream absorbing other flavours.
Fridge Storage
You can keep leftover chocolate in the fridge for up to 3 days if it is covered well. Always ensure the cake is fully set before covering so the smooth top stays intact.
If you have extra double cream, whip a fresh dollop to serve alongside each slice. This refreshes the texture and adds a light finish without reheating.
Freezing for Later
For longer storage, freeze without any toppings. Wrap the cake tightly in cling film and then in foil to protect the surface and prevent freezer burn.
When ready to serve, move the wrapped cake to the fridge and allow it to thaw slowly for several hours. Never attempt to reheat, as heat will make the chocolate and cream lose structure.
- Keep away from strong-smelling foods; cream easily absorbs odours.
- The butter in the base helps maintain firmness after refrigeration.
- Serve chilled for the best texture and flavour, as mary berry recommends.
“Thaw slowly in the fridge for several hours to restore the creamy consistency.”
Serving Suggestions for Special Occasions
Presentation matters: a few small additions will lift a simple slice to a memorable dessert.
Serve each portion with a handful of fresh raspberries or strawberries. The bright acidity balances the rich filling and adds colour.
Offer a small dollop of freshly whipped cream on the side of every slice. It softens the texture and makes the plate feel indulgent.
Pair the dessert with a cup of strong espresso. The coffee cuts sweetness and brings out deeper cocoa notes in the filling.
For an elegant finish, use a stencil and dust a light layer of cocoa over the top. This creates a professional pattern in moments.
“A chilled plate and neat slices make a simple recipe feel like a celebration.”
- Serve chilled to keep structure and clean slices.
- Consider individual portions in small glasses for easy serving at parties.
- Dress simply: berries, a spoon of cream and a coffee make a classic finish.
| Occasion | Accompaniment | Why it works |
|---|---|---|
| Dinner party | Fresh raspberries & espresso | Colour contrast and palate balance |
| Summer garden event | Chilled plate & strawberries | Keeps slices firm in warm conditions |
| Formal gathering | Cocoa stencil & whipped cream | Elegant look with added creaminess |
| Casual buffet | Individual glasses | Easy to serve and eat |
Conclusion
Finish with confidence, and remember a warm knife and steady chill time make all the difference. This chocolate cheesecake pairs high-quality dark chocolate with full-fat cream cheese for a reliably silky chocolate filling and a smooth top.
Follow the method: press firmly on the biscuit base, whip the full-fat cream to soft peaks, add melted chocolate and cool slightly before folding. Allow the mixture to chill for several hours so the set is firm for neat slices in a few minutes.
With simple ingredients like icing sugar and good cheese, this recipe delivers a crisp base and a glossy, indulgent finish. Enjoy sharing this creamy treat — it’s practical, impressive and easy to make for any occasion.
FAQ
What is the quickest way to make the biscuit base crisp and even?
Which cream should I use for the filling?
How do I melt chocolate without seizing it?
Can I use cream cheese straight from the fridge?
How long does the cheesecake need to chill?
What are the best tools for slicing neat portions?
Can I freeze the cheesecake and how should I do it?
How can I avoid a grainy chocolate filling?
Are there easy flavour variations to try?
How should I store leftovers in the fridge?
Mary Berry No Bake Chocolate Cheesecake
This classic, no-oven dessert shows how simple ingredients can deliver a show-stopping finish. The recipe uses digestive biscuits and melted butter to form a crisp base that contrasts beautifully with the silky filling of cream cheese and dark chocolate.
Ingredients
- 200g digestive biscuits
- 100g melted butter
- 600g full-fat cream cheese
- 75g sifted icing sugar
- 300ml double cream
- 300g high-quality dark chocolate
Method
- Crush the digestive biscuits finely in a bowl and mix with melted butter until the texture resembles wet sand.
- Press the biscuit mixture firmly into a 20cm loose-bottomed tin to form an even base and chill for 30 minutes.
- Beat the cream cheese and icing sugar together until smooth and free of lumps.
- Melt the dark chocolate and let it cool slightly before folding it into the cream cheese mixture.
- Whip the double cream to soft peaks and gently fold it into the chocolate mixture until no white streaks remain.
- Spoon the filling over the chilled biscuit base and smooth the top with a spatula.
- Chill the assembled cheesecake in the fridge for at least 4 hours, preferably overnight, before serving.