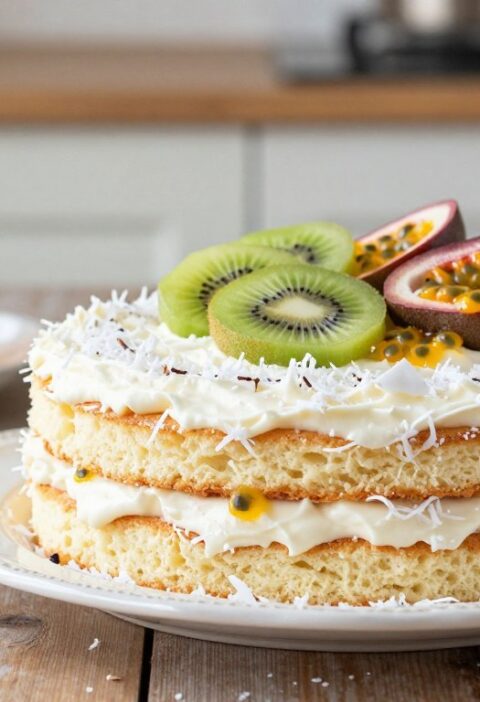
Mary Berry Iced Fingers are a nostalgic British treat often enjoyed with a warm cup of tea.
The simple recipe captures the charm of a traditional bakery. It offers soft, pillowy buns with a sweet, glossy icing.
Making them is a rewarding baking experience. You will learn that patient proving is the secret to a perfect texture.
Whether you are new to the kitchen or an experienced home baker, this guide helps you bake with confidence. The active time to prepare is about 40 minutes, not including proving stages.
Serve a fresh bun with tea and enjoy a classic moment that brings simple joy to any afternoon gathering.
Key Takeaways
- Classic British treat ideal for afternoon tea.
- Patient proving gives a pillowy, bakery-like texture.
- The straightforward recipe suits novices and experts.
- Active time is roughly 40 minutes, proving excluded.
- Simple ingredients create soft buns with sweet icing.
The Appeal of Mary Berry Iced Fingers
These little rolls win hearts with their pillowy crumb and gentle sweetness.
Soft, bakery-style buns offer a light, fluffy texture that comforts every generation. The enriched dough gives a tender centre that feels more like a treat than a heavy cake.
The simple icing on top creates a clean, glossy finish. It adds shine and a mild sweetness without weighing the bun down. That balance is why the iced buns remain so popular.
Each bun is formed into a finger-length roll for a consistent size that is ideal for sharing. The smooth topping contrasts beautifully with the golden bread beneath.
- Perfect for school parties and afternoon gatherings.
- Pairs well with tea or milk for a classic British snack.
| Feature | Why it matters | Best use |
|---|---|---|
| Texture | Light, fluffy crumb | Afternoon tea, children’s parties |
| Icing | Glossy, mild sweetness | Visual appeal on the top |
| Size | Finger-length rolls | Easy to share and serve |
Essential Ingredients for Your Bake
Begin with quality staples to ensure a soft, well-risen enriched dough every time. Gather the measured items before you start so mixing is smooth and stress-free.
Dry Ingredients
Use 450g of strong white bread flour for structure. In a large mixing bowl, combine 50g of caster sugar with 7g of fast-action dried yeast.
Add a single tsp of salt to balance sweetness. These dry ingredients set the base for an even crumb in the dough.
Wet Ingredients
Warm 300ml of milk and beat in one large egg to keep the dough soft and tender. Fold in 50g of softened unsalted butter for richness.
For the classic finish, whisk 250g of icing sugar with 2–3 tablespoons of cold water to form a smooth icing. You may add a small amount of food colouring or jam if you want a creative twist.
- Ensure all ingredients are at room temperature for the best rise.
- Measure precisely — this recipe relies on correct ratios for the enriched dough.
Necessary Kitchen Equipment
A few sturdy pieces of kit will take your buns from dough to glossy finish.
Start with a large mixing bowl to combine the flour, yeast and dry ingredients before adding the warm milk and egg. A wooden spoon works well, but a stand mixer speeds up kneading and gives a more even dough.
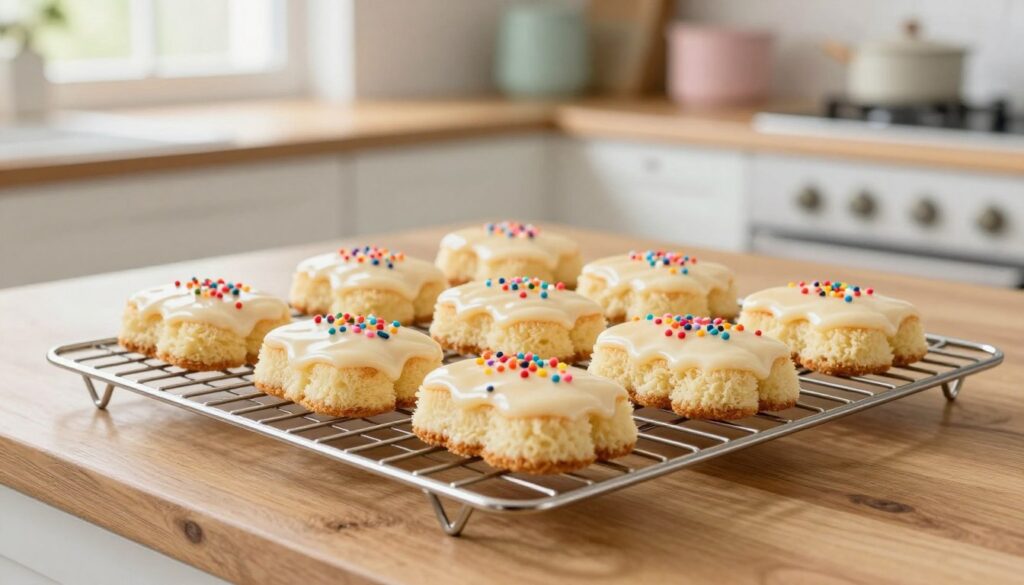
For the oven stage, use a sturdy baking tray lined with parchment paper. This prevents sticking and makes transfer simple. Good trays give an even bake every time.
A cooling rack is essential. Let the buns reach room temperature on the rack so the icing does not melt away. A clean tea towel will keep the dough covered while it proves to double in size.
Finish with a palette knife or a spoon to spread the icing smoothly across each cooled bun. These small tools make the final look neat and give professional results without fuss.
Preparing the Enriched Dough
Combine the dry ingredients first so your base is even and predictable. In a large bowl, stir the flour, yeast, sugar and salt until mixed. Rub in the butter to form a crumbly texture before the wet additions.
Kneading for Texture
Pour in the warm milk and egg gradually, adding a little water if needed to bring the mix together. Work the mix into a soft dough that is easy to handle by hand.
Knead the dough for 8–10 minutes until it feels elastic and springy. This develops gluten and gives a light, fluffy bread crumb.
Place the dough in a warm place for about one hour, until it has clearly doubled size. This step in the recipe ensures the yeast is active and produces reliable rise.
The finished dough should be smooth and supple. Keep the process steady and you will enjoy consistent results with this classic method from mary berry.
Shaping and Proving the Buns
Divide the dough into equal portions and weigh each piece so every bun is consistent in size. Roll each portion gently into a neat finger shape. A light touch preserves the air you developed during kneading.
Place the shaped buns on a lined tray with small gaps between them. Cover loosely and leave in a warm place to prove for 30–40 minutes. The key is patience—wait until they have doubled size before baking.
“Consistent portions and proper proving give the airy structure that defines a classic British bun.”
- Weigh portions for even baking and appearance.
- Prove in a warm place for the recommended minutes until doubled size.
- Keep spacing so buns can expand during oven time.
Baking to Golden Perfection
Preheat the oven to 200°C (180°C fan) for a reliable, even bake every time.
Bake the buns for 12–15 minutes until they turn a light golden brown. Start checking from 12 minutes as ovens vary and colour can change quickly.
Use the fan setting where possible. A fan oven distributes heat so each roll bakes through evenly. If your oven has a fan, use it for a more consistent result.
When the time is up, remove the tray and transfer the buns straight to a cooling rack. This prevents soggy bases and keeps the crust crisp.
mary berry advises waiting until the buns are completely cool before spreading any icing on the top. If the rolls are even slightly warm the glaze will melt and slide off.
As a final check, a perfectly cooked bun sounds hollow when tapped on the bottom. If unsure, give them an extra minute or two, but watch closely—overbaking dries the crumb.

| Step | Temperature | Time (minutes) |
|---|---|---|
| Preheat | 200°C (180°C fan) | — |
| Bake | 200°C (180°C fan) | 12–15 |
| Cool | Room temperature | Until cold before icing |
For a tidy finish, use the fan again for even browning and allow the buns to cool fully before adding a neat glaze on the top.
Try a different bake time if your oven runs hot or cool. Adjust by a minute or two while watching the colour closely.
For related recipes, see this all-in-one chocolate cake for another simple bake.
Common Baking Challenges
Spotting typical problems early helps you keep each bun neat and consistent. Below are quick fixes that save time and improve results.
Preventing Melted Icing
If the glaze slides off the top, it usually means the rolls were not fully cool. Wait until the buns are completely at room temperature before you spread the icing.
For a thicker finish, sift your icing sugar and add water slowly until you reach the right spreadable consistency. Avoid reheating iced buns on the day you serve them; heat melts the shine.
Achieving the Perfect Rise
Ensure your milk is warm not hot when you add it to the dough. Excessive heat kills the yeast and stops the rise.
If the mix still won’t prove, check the yeast expiry and storage. Give the dough the recommended proving time and a slightly warm spot to encourage activity.
Ensuring Even Sizes
Weigh your portions so every bun bakes at the same pace. Consistent size avoids some rolls browning before others.
When shaping, handle the dough gently to keep the air you’ve developed. This keeps texture even and the finished batch uniform for sharing.
Creative Variations and Serving Suggestions
Play with fillings and icing flavours to personalise your batch for friends or a party. Try adding a teaspoon of vanilla or a drop of almond extract to the icing for a subtle, grown‑up note.
For a decadent option, slice each bun and spread a thin layer of raspberry jam with whipped cream. This makes a classic cream and jam filling that pairs well with a strong pot of tea.
Use a piping bag fitted with a flat nozzle to pipe a neat stripe of icing across the top. A sprinkle of desiccated coconut or hundreds and thousands adds colour and extra texture for children.
To make the recipe vegan, swap in dairy‑free butter and plant‑based milk in the dough. You can also fill the bun with diplomat cream or walnut frangipane for a richer treat.
- Quick tip: mix icing sugar with a little cold water to the right consistency in a bowl, then add extracts to taste.
- Storage: keep finished buns in an airtight bag for up to two days to stay fresh.
“A simple jam and cream filling can make every bun feel like a special occasion.”
Conclusion
, The quiet ritual of glazing cooled rolls rewards patience with a glossy, neat top.
These classic treats remain a timeless British favourite for tea or a small celebration. Follow the recipe, respect proving time and wait until the rolls are fully cool before you spread the icing.
With simple ingredients — flour, sugar, butter, milk and an egg — you can master enriched dough and bake soft, fluffy buns in around 12–15 minutes in the oven.
Serve with cream and jam or keep them plain with a neat stripe on the top. Keep this guide handy for your next baking day and enjoy sharing warm results inspired by mary berry.
FAQ
What are the essential dry ingredients for these iced buns?
What wet ingredients will I need to make the enriched dough?
How long should I knead the dough for good texture?
What equipment do I need to bake these buns?
How do I shape and prove the buns so they double in size?
What temperature and time are best for baking?
How can I stop the icing from melting on warm buns?
What causes uneven rise and how do I avoid it?
How do I ensure all buns bake to the same size and colour?
Can I add fillings or variations to these buns?
How should I store leftover buns and icing?
Can I use fan or conventional oven settings for best results?
Mary Berry Iced Fingers
Mary Berry Iced Fingers are a nostalgic British treat often enjoyed with a warm cup of tea. The simple recipe captures the charm of a traditional bakery, offering soft, pillowy buns with a sweet, glossy icing.
Ingredients
- 450g strong white bread flour
- 50g caster sugar
- 7g fast-action dried yeast
- 1 tsp salt
- 300ml warm milk
- 1 large egg
- 50g softened unsalted butter
- 250g icing sugar
- 2-3 tablespoons cold water
Method
- In a large mixing bowl, combine the flour, yeast, sugar, and salt.
- Rub in the softened butter until the mixture resembles breadcrumbs.
- Gradually pour in the warm milk and beaten egg, mixing until a soft dough forms.
- Knead the dough for 8-10 minutes until it feels elastic and springy.
- Place the dough in a warm place and let it prove for about 1 hour, or until doubled in size.
- Divide the dough into equal portions and shape each into a finger-length roll.
- Place the shaped buns on a lined baking tray, cover loosely, and prove for another 30-40 minutes.
- Preheat the oven to 200°C (180°C fan) and bake the buns for 12-15 minutes until golden brown.
- Transfer the buns to a cooling rack and let them cool completely.
- Whisk the icing sugar with cold water until smooth, then spread it over the cooled buns.