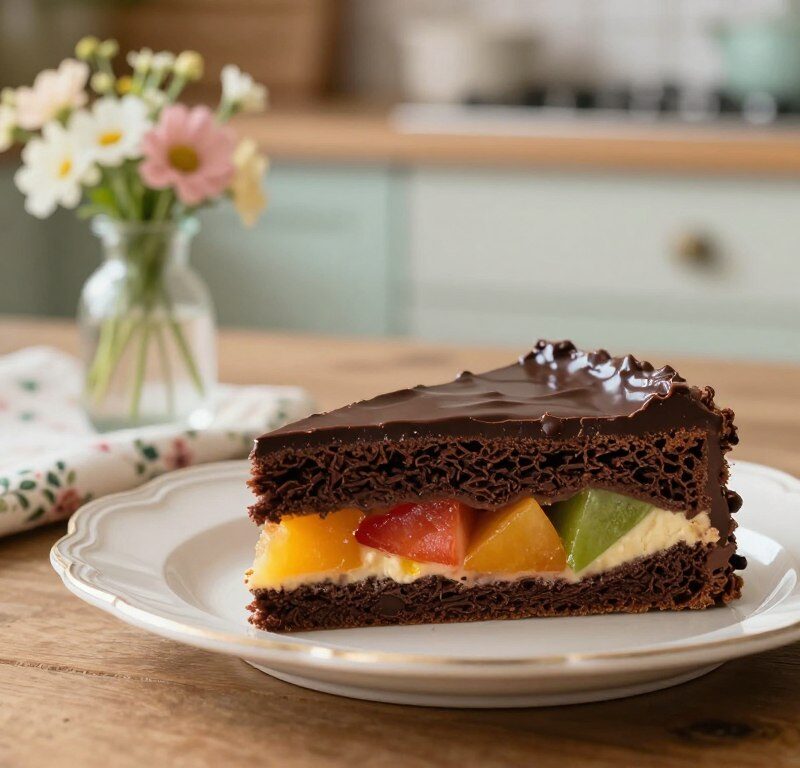
This classic no‑bake traybake blends crushed biscuits, melted chocolate and store-cupboard staples into a quick, comforting treat. The method avoids the oven, so it is perfect for busy afternoons or a simple addition to tea with friends.
The texture is lightly crunchy and sets firm once chilled. A touch of cocoa and a splash of milk help build the rich, chocolatey flavour that makes this recipe so popular. It cuts neatly into squares for gifting or sales.
mary berry’s practical approach shines through: straightforward steps, few ingredients and reliable results. This no‑fuss slice is an ideal example of beloved British recipes that anyone can master in minimal time.
Key Takeaways
- No baking required — a quick, reliable traybake for afternoon tea.
- Combines crushed biscuits with rich chocolate and cocoa for great texture.
- Uses simple, everyday ingredients and sets firmly when chilled.
- Easy to cut into neat squares for sharing or gifting.
- Perfect for novice cooks looking for a fuss-free dessert.
- Balanced sweetness makes it comforting without feeling heavy.
Why Everyone Loves a Classic Mary Berry Tiffin
This traditional no‑bake traybake is loved for being simple to make and easy to share. The mix of crushed biscuits and melted chocolate gives a familiar, comforting flavour that works for any occasion.
The slice sets in the fridge, producing a firm but slightly chewy bar that cuts into neat squares. It is ideal for afternoon tea, bake sales or as a make‑ahead treat for guests.
- Reliable no‑bake recipe that consistently sets well.
- Easy to portion and transport for social gatherings.
- Offers a clean chocolate finish and comforting texture.
mary berry’s approach keeps this among her most popularrecipes. It delivers dependable results with minimal fuss, making it a staple in many kitchens.
| Feature | Best for | Result |
|---|---|---|
| No‑bake method | Quick treats | Consistent set |
| Fridge setting | Make‑ahead | Clean slices |
| Chocolate finish | Afternoon tea | Rich flavour |
Essential Ingredients for Your Traybake
A few quality ingredients turn a quick no‑bake into a crowd-pleasing tray of chocolate squares. Keep the list simple and prepare the tin before you start — the mixture sets quickly once chilled.
The Biscuit Base
Use 200g of roughly crushed digestive biscuits to give the traybake its crunch. The biscuit base provides structure and a familiar texture that contrasts with the softer chocolate topping.
Sweeteners and Cocoa
Combine 100g butter with 2 tbsp golden syrup to create a smooth butter syrup that binds the dry ingredients. Stir in 2 tbsp cocoa powder to deepen the chocolate flavour across the whole traybake.
- 200g roughly crushed digestive biscuits
- 100g butter and 2 tbsp golden syrup
- 2 tbsp cocoa powder
- 200g milk chocolate (or dark chocolate) for the topping
- 100g dried fruit such as raisins
| Ingredient | Amount | Purpose |
|---|---|---|
| Digestive biscuits (roughly crushed) | 200g | Crunchy base |
| Butter + golden syrup | 100g + 2 tbsp | Binding, chewiness |
| Cocoa powder | 2 tbsp | Deep chocolate flavour |
| Milk or dark chocolate | 200g | Topping that sets firm |
| Raisins (dried fruit) | 100g | Chewy contrast |
Necessary Kitchen Equipment
Gathering the right kit makes the whole process quicker and less fiddly. A few simple tools ensure the no‑bake comes together smoothly and sets with a clean finish.
Essentials:
- 20cm square tin lined with baking paper to lift the slice out easily.
- A sturdy saucepan for melting butter and syrup without burning.
- A large mixing bowl to combine crushed biscuits and dried fruit.
- A heatproof bowl for melting chocolate over a pan of simmering water.
- A wooden spoon or spatula to coat every piece evenly.
Keep your saucepan and spoon clean and dry. Even a little water can make chocolate seize. Use baking paper and a lined pan to avoid stickiness and to get neat slices after chilling.
| Tool | Why you need it | Tip |
|---|---|---|
| 20cm square tin | Even thickness and tidy edges | Line with baking paper for easy removal |
| Saucepan | Melts butter and syrup smoothly | Use low heat and stir constantly |
| Heatproof bowl | Safe chocolate melting | Place over simmering water, not direct heat |
| Mixing bowl & spoon | Combines ingredients evenly | Use a wooden spoon to avoid scratching |
Step by Step Preparation Method
Start by lining a 20cm square tin with baking paper, leaving an overhang so you can lift the set slice out easily.
Preparing the tin
Use baking paper to cover the base and sides. Leave enough paper to act as handles when you remove the set bars.
Melting the base
Crush the biscuits into a mix of roughly crushed pieces and fine crumbs. Put them in a bowl with the dried fruit.
In a saucepan, melt 100g butter with 2 tbsp golden syrup over low heat. Stir in 2 tbsp cocoa to make a smooth chocolate mixture.
Pour the warm butter syrup into the biscuit mix and stir so every piece is coated.
Setting the chocolate
Melt milk chocolate or dark chocolate in a heatproof bowl over a pan of simmering water until completely smooth.
Press the biscuit mixture firmly into the prepared tin, then spread the melted chocolate on top with a spoon for a clean finish.
Place the tin in the fridge for at least 2 hours. Chill until firm, then slice into 16 neat squares.
“Pressing the base well and chilling thoroughly gives the best texture.”
Creative Ways to Customise Your Tiffin
Small tweaks to the mix add interest: think nuts, zest or a contrasting drizzle on the top to make each batch your own.
Add crunch: fold in chopped almonds or hazelnuts with the biscuit mix for a satisfying bite.
Brighten the flavour: stir orange zest into the melted chocolate to lift the cocoa notes and add freshness.
Make it chewy: toss in mini marshmallow pieces so the bars have soft pockets amid the crunch.
Swap the fruit: replace raisins with dried cranberries for a sharper, fruit-forward lift.
Play with the topping: drizzle white chocolate over a set milk chocolate or dark chocolate layer for a striking finish.
Tip: experiment with mixes of chocolate types to adjust sweetness, and ensure extra ingredients are evenly distributed before pressing into the tin for a clean, even set.
Tips for Achieving the Perfect Texture
Careful handling and the right chill time will give you clean, firm slices.
The Importance of Chilling
Use gentle heat when melting chocolate so it stays smooth. Melt in a heatproof bowl over a pan of simmering water to avoid overheating and grainy results.
Press the biscuit mix firmly into the tin. Compacting the crushed biscuits and dried fruit ensures the bars hold together once set.
Chill in the fridge for at least 2 hours. Rushing this step gives a soft centre and uneven texture.
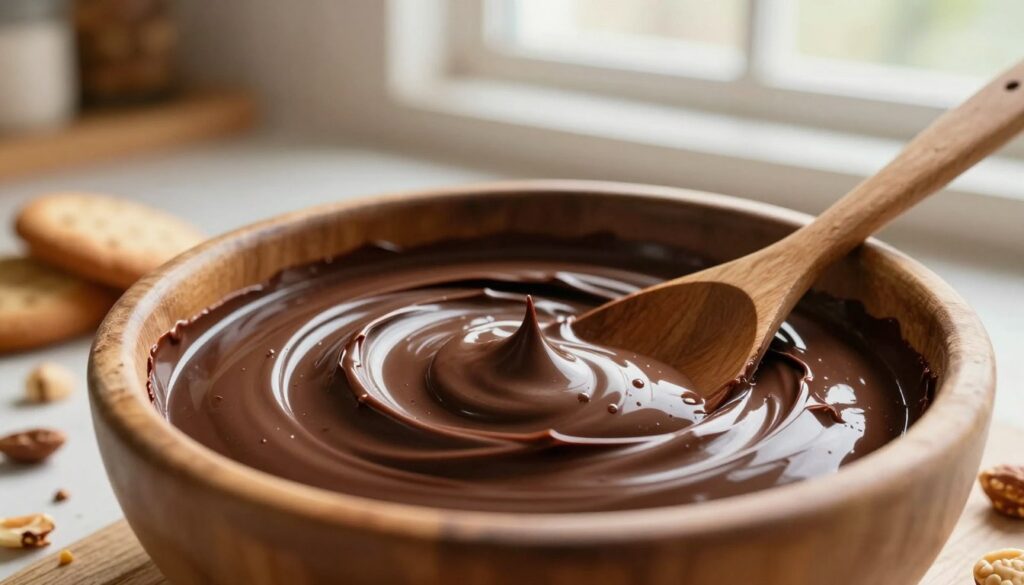
- Keep the chocolate mixture smooth and well combined before pouring.
- If bars crumble, check that biscuit pieces are not too large and binder is sufficient.
- Use a warm knife when slicing after several hours chilled to get neat edges.
- Avoid direct high heat; gentle warming keeps cocoa and chocolate glossy.
“Pressing the base well and chilling thoroughly gives the best texture.”
Follow these steps and your mary berry traybake will have the firm, chewy bite everyone expects.
Serving Suggestions for Afternoon Tea
A warm cup of tea lifts the rich chocolate notes and balances each sweet bite. This is the classic way to serve neat little squares at a relaxed afternoon gathering.
For a plated pud, place one square on a dessert plate and add a scoop of creamy vanilla ice cream. The cold ice cream softens the texture and makes the slice feel more decadent.
Fresh berries on the side give a light, tangy contrast to the dense cocoa. A small dollop of whipped cream or a drizzle of white chocolate on top brings a pleasing visual and flavour lift.
Milk chocolate or dark chocolate versions pair well with bold coffee if you prefer bittersweet notes over sweet tea. For variety, offer a fruit platter alongside so guests can mix and match.
- Serve with a hot cup of tea or coffee to balance the richness.
- Add a scoop of vanilla ice cream to turn a square into a plated dessert.
- Offer fresh berries or a fruit platter to lighten each mouthful.
- Provide toppings like whipped cream or a white chocolate drizzle for guests to choose.
| Serving Style | Best Pairing | Why it Works |
|---|---|---|
| Traditional afternoon tea | Hot tea | Balances sweetness and complements cocoa |
| Plated dessert | Vanilla ice cream | Adds creaminess and contrast in temperature |
| Light option | Fresh berries | Provides acidity and freshness |
| Host-friendly platter | Whipped cream & white chocolate drizzle | Allows guests to personalise each square |
Storage and Freezing Advice
How you store the bars makes a big difference to texture and flavour over several days.
For short-term keeping, place cooled squares in an airtight container and store in the fridge. They will stay fresh for up to 1 week and keep their firm, chewy bite.
To freeze, wrap the traybake tightly in cling film and then foil. This protects the mixture and stops freezer burn. Frozen bars keep well for up to 3 months.
When you are ready to serve, thaw the frozen slice in the fridge for a few hours rather than at room temperature. This helps the texture return slowly and keeps the chocolate topping neat.
- Use baking paper between layers to stop squares sticking together.
- Keep the slice cool; the butter and golden syrup soften if left in warm rooms.
- Store in a lined tin or airtight box and seal well to prevent odours affecting the flavour.
- Proper storage protects your ingredients and ensures each piece tastes as good after days in the fridge as it did on day one.
“Wrap tightly and chill slowly — it keeps the texture and flavour just right.”
Conclusion
This simple traybake proves you can get deep chocolate flavour with minimal fuss. Follow the clear steps, press the mixture into a lined tin and chill in the fridge until firm for neat, sliceable results.
The balance of butter, syrup, crushed biscuits and cocoa gives a reliable, comforting finish. This recipe is flexible, so swap or add ingredients to suit your taste.
Whether you make this classic mary berry tiffin for tea or as a small gift, it shows how simple pantry staples turn into a great sweet. Enjoy trying variations and keep this no‑bake treat among your favourite recipes.
FAQ
What is a classic Mary Berry tiffin and what goes into it?
Which biscuits work best for the biscuit base?
How do I melt the chocolate without burning it?
Can I use different types of chocolate on top?
Is golden syrup essential, and can I substitute it?
How long should the tiffin chill before cutting?
What tin size should I use and how do I prepare it?
Can I add fruit or nuts to the mixture?
How should I store tiffin and how long will it keep?
Any tips for getting a shiny chocolate top?
Can I make tiffin without dairy for dietary needs?
What’s the best way to cut neat squares?
Mary Berry Tiffin
This classic no‑bake traybake blends crushed biscuits, melted chocolate and store-cupboard staples into a quick, comforting treat. The texture is lightly crunchy and sets firm once chilled.
Ingredients
- 200g roughly crushed digestive biscuits
- 100g butter
- 2 tbsp golden syrup
- 2 tbsp cocoa powder
- 200g milk chocolate (or dark chocolate)
- 100g dried fruit such as raisins
Method
- Line a 20cm square tin with baking paper, leaving an overhang.
- Crush the biscuits into a mix of roughly crushed pieces and fine crumbs and put them in a bowl with the dried fruit.
- In a saucepan, melt 100g butter with 2 tbsp golden syrup over low heat.
- Stir in 2 tbsp cocoa to make a smooth chocolate mixture.
- Pour the warm butter syrup into the biscuit mix and stir until every piece is coated.
- Melt the milk chocolate or dark chocolate in a heatproof bowl over a pan of simmering water until completely smooth.
- Press the biscuit mixture firmly into the prepared tin, then spread the melted chocolate on top with a spoon.
- Place the tin in the fridge for at least 2 hours until firm, then slice into 16 neat squares.